Can it really only be 6 days to Xmas!?!
For those of you, like me, who'll be crafting up to the last minute, I thought I'd share a super quick and simple ornament tutorial for you to whip up as last minute gifts or to adorn your tree.
Before we begin, here's a little breakdown of the basic stitches. I'm using US crochet terms, because I always do.
sl st [slip stitch] :: insert hook, yarn over, pull the loop back through the stitch, then through the loop on your hook.
sc [single crochet] :: insert hook, yarn over, pull the loop back through the stitch (two loops on hook), yarn over and pull through both loops on hook (this is the same as UK dc stitch)
dc [double crochet] :: yarn over, insert hook, yarn over, pull the loop back through the stitch (three loops on hook), yarn over and pull through two loops on hook (two loops left on hook), yarn over and pull through remaining two loops (this is the same as UK tre stitch)
I am using 8ply cotton and a 3mm hook for this tree to keep it a nice compact sized star, but you could use and yarn and hook that you like, or have on hand.
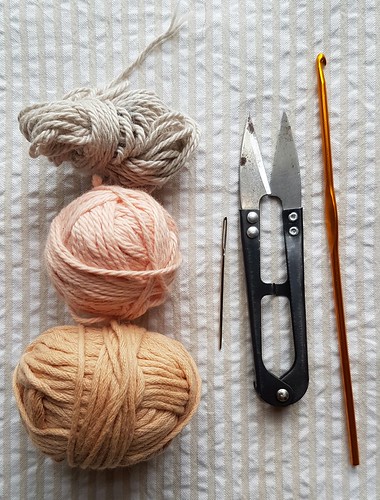
Okay, gather your supplies! - you will need 3 contrasting shades of 8ply cotton yarn, 3mm hook, darning needle, scissors, a firm piece of cardboard, star shaped button, cotton drill tape for tag, embroidery thread, and string for hanging.
You will be making 2 crochet trees and joining them together.
To start, using shade 1 and leaving a tail of approx 25cm make a magic loop (great tutorial here).
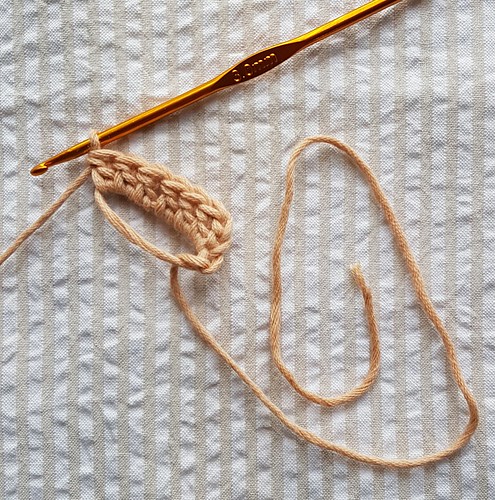
Row 1 - Chain 3 (this is your turning ch) and work 6dc into the magic loop as pictured below.
Pull the magic loop up tight before you begin Row 2 like so...
Row 2 - Ch3 (turning ch) and turn your work.
dc into top of the last dc from the previous Row and into each of the next 2 dc.
Now, 5dc into the next dc and 1dc into each of the next 2 dc.
2dc into the 3rd chain of the ch3 (turning ch) from the first Row.
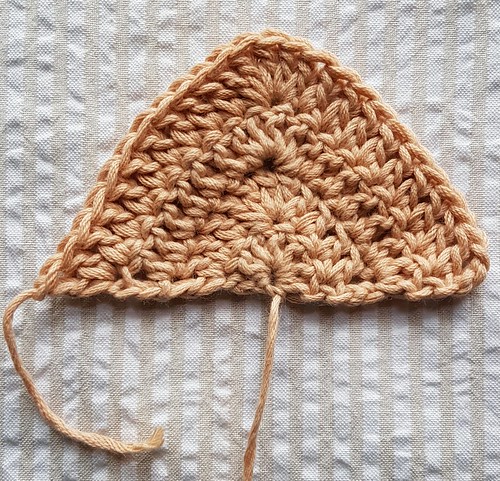
It should be looking like the picture below, right?
Row 3 - Ch3 and turn your work.
dc into top of the last dc from the previous Row and into each of the next 5 dc.
Now, 5dc into the next dc and 1dc into each of the next 5 dc.
2dc into the 3rd chain of the turning ch from the previous Row.
Row 4 - Ch3 and turn your work.
dc into top of the last dc from the previous Row and into each of the next 8 dc.
Now, 5dc into the next dc and 1dc into each of the next 8 dc.
2dc into the 3rd chain of the turning ch from the previous Row. Fasten off.
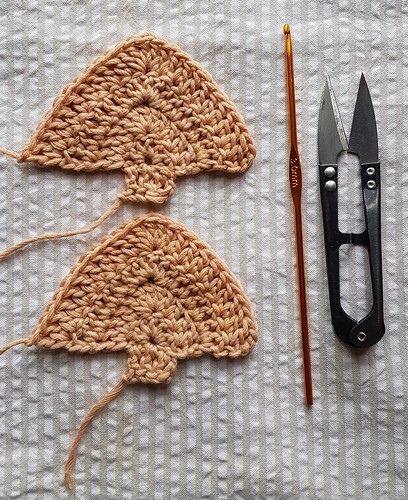
This is the first colour section of your tree complete, we now need to add the trunk.
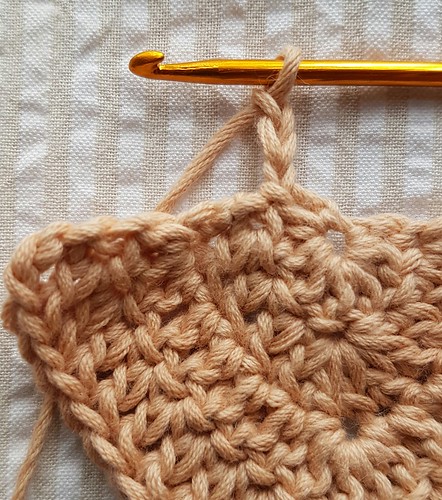
Using the 25cm tail that you left at the start slip stitch across 2 stitches at the base of your tree and ch3 like so.
Turn your work and work 3 dc evenly along the bottom of your tree to create a trunk and fasted off, as pictured.
Now make another tree exactly the same.
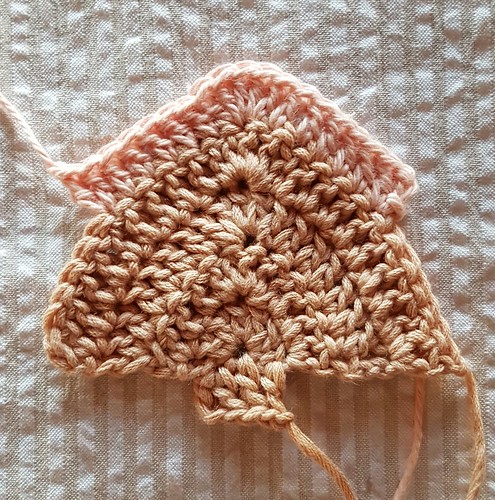
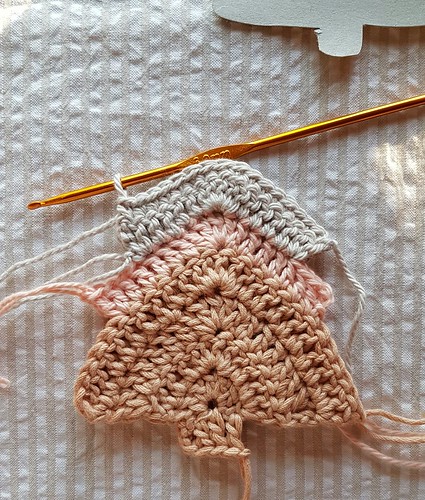
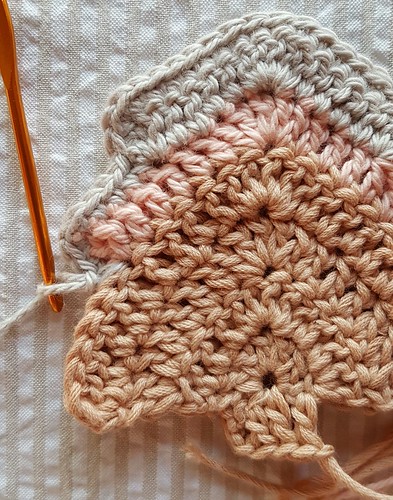
Row 5 - Using another shade of yarn and working into the back of your work, slip stitch into the 7th dc from the egde and ch3.
1dc into the same dc and into each of the next 5 dc.
Now, 5dc into the next dc and 1dc into each of the next 5 dc.
2dc into the next dc and fasten off.
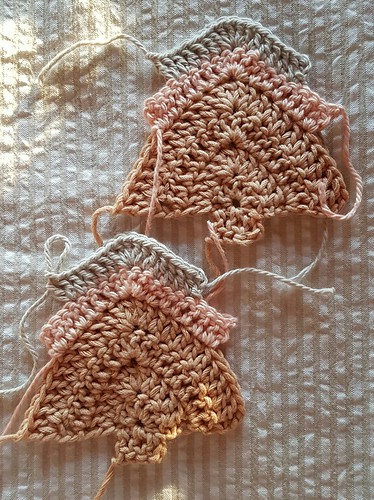
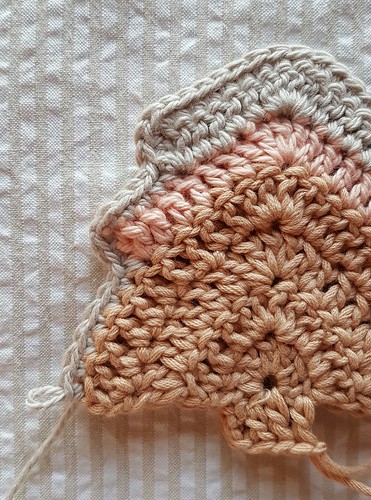
Row 5 - changing shades and working into the back of your work again, slip stitch into the 5th dc from the egde and ch3.
1dc into the same dc and into each of the next 4 dc.
Now, 5dc into the next dc and 1dc into each of the next dc.
2dc into the next dc and fasten off.
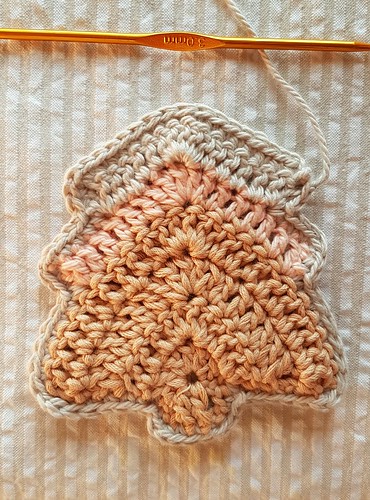
Repeat row 4 and 5 for both trees but DO NOT fasten off on the 2nd trees final shade like so - you will be using this yarn to join and edge your tree to finish it off.
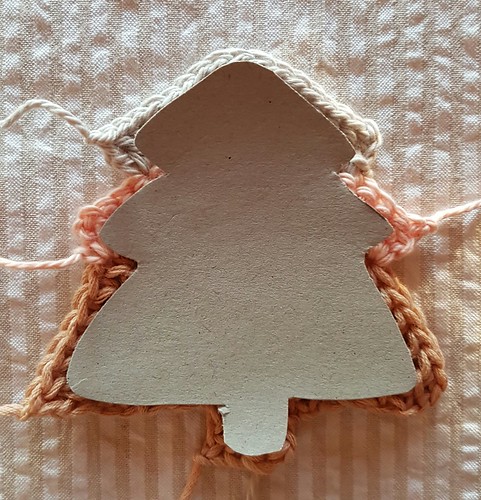
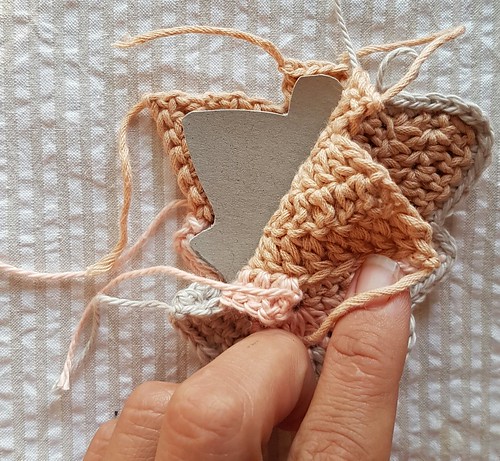
Using your cardboard, cut out an insert to wedge between your 2 trees, this is to keep your ornament flat and stiff for hanging.
Now, time to join your trees together.
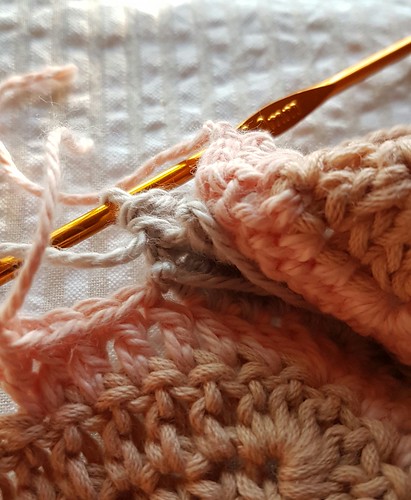
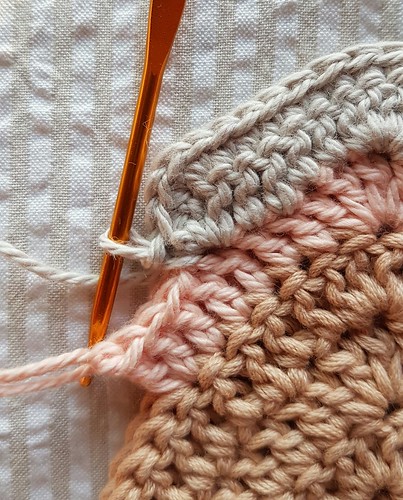
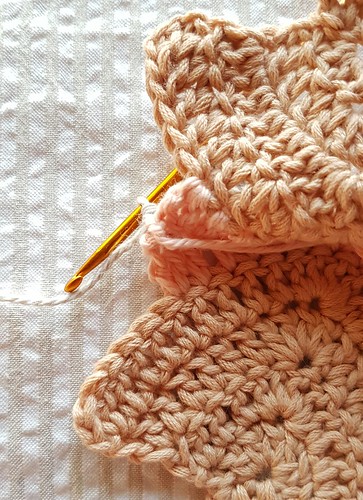
With the right sides of both trees facing, and the tree with the yarn still attached at the back, work 1sc into each stitch along the top of both trees to join them together as pictured below.
Now work 2sc into the 1 corner stitch and 2 sc down the edge of the trees.
When you get to your loose ends simply tuck them to the inside of your tree and continue to crochet around your tree - this saves having to sew all of those ends in later on.
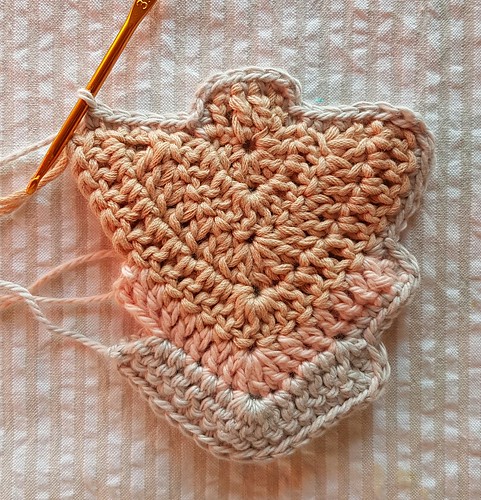
Continue working sc around the outside of your trees as pictured,
tucking in all of your ends as you go and working 2sc into each corner.
When you get to the base of the trunk you will need to insert your cardboard cut out.
Then continue working sc around the remainder of your trees.
Finishing with a slip stitch into the base of the 1st sc. Fasten off.
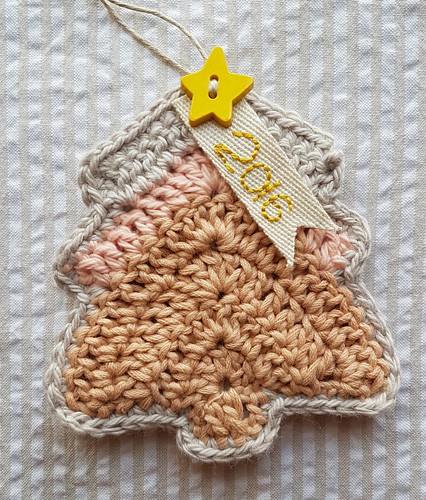
Thread in your 1 end, sew on a button and attach a loop for hanging. I like to personalize my tree's with a little stitching of the year but you could stitch anything you like, a name, picture, date, etc - or skip this tag altogether, it's totally up to you.
These trees would be great made on mass and hung in a garland. They'd also make great gift tags or why not try making just 1 tree in a chunky cotton for a cute Xmas washer or coaster.
Merry Xmas - Enjoy!








Oh it's so cute! I don't crochet unfortunately but I did start some felt chrissy decorations today.
ReplyDeleteLOVE these Jodie...you are clever and oh so creative x
ReplyDeleteThis is a gorgeous little deco Jodie and the tutorial is great, thanks!
ReplyDeleteThis is a gorgeous little deco Jodie and the tutorial is great, thanks!
ReplyDeletenice post
ReplyDeletethe stitch looks really nicely stiched, good job
ReplyDeleteLove it so much, I tried making it with pink and sky blue colored, hope it will turn out as cute as yours
ReplyDeleteWonderful and informative post, I appreciate it I am also a writer by profession but I am in my beginner level and wanted to know from you how many words is a dissertation because I have to post it this week If you have some knowledge of it so give me some guide.
ReplyDeleteI recently came across a fascinating blog that explores the various aspects of Christmas trees, from their history and symbolism to decoration trends. The blog's unique blend of tradition and innovation reminded me of my own journey in the field of finance. Specifically, my Finance Bachelor Thesis Topics. Just as a Christmas tree is adorned with various ornaments, my thesis topic is a culmination of diverse financial concepts and theories. It's a testament to the beauty of knowledge, much like a decorated Christmas tree is a testament to the beauty of the holiday season.
ReplyDeleteDiscover the ultimate Xmas Tree Tutorial, unraveling step-by-step guides, creative tips, and DIY hacks for crafting the perfect festive centerpiece. From traditional to contemporary designs, elevate your holiday decor with our comprehensive tutorial. Dive into the magical world of Christmas crafting and let your creativity flourish!
ReplyDeleteCreating a Christmas tree tutorial can be a delightful and festive project, especially during the holiday season. Start by gathering all the necessary materials, including a tree (real or artificial), ornaments, lights, garlands, and a tree topper. Begin by setting up your tree in a sturdy stand, ensuring it's straight and secure. If you're using an artificial tree, assemble it according to the manufacturer's instructions. To share this tutorial online, using a top web hosting services can ensure your content reaches a wide audience with reliability and speed. Services like Bluehost, SiteGround, and A2 Hosting are highly recommended due to their excellent performance, customer support, and user-friendly features. Bluehost is great for beginners with its easy setup and integration with WordPress.
ReplyDeletetoo good
ReplyDeleteLove this Xmas tree tutorial! It's the perfect way to bring festive cheer, just like the cozy charm you'll find in the houses for sale in Pearland this season!"
ReplyDeleteJellywares' Xmas Tree Tutorial is such a creative and fun way to add a festive touch to your holiday decor! The step-by-step guide makes it easy for everyone to follow. For those taking a crafting break, check out bet365 mx for some great entertainment options during the holidays. Can't wait to try this tutorial myself!
ReplyDeleteVery detailed and well explained!
ReplyDeleteTruly experts in tree maintenance. tree removal
ReplyDeleteThe team really knows how to handle large trees. stump grinding
ReplyDelete