Wednesday, January 31, 2018

January

Today, I'm pulling inspiration from Pip, and TAKING STOCK!
Making : : A cardigan, this one, for myself.
Cooking : : From this cookbook, for most meals.
Drinking : : Icy cold white wine in the evenings, which is totally not like me - I'm a red wine girl all the way. 
Reading : : Cookbooks, and loving this one full of beautiful interesting recipes and stories. I especially love how Hetty gives you loads of substitutes for ingredients that might be tricky to find.
Next read : : Cut Flower Garden
Wanting : : A new worm farm.
Looking : : At the Soul Craft Festival Schedule and planning a trip down south for June so I can attend.
Playing : : The Podcast 'A Plate to Call Home' and loving the latest episode with Tamsin Carvin.
Deciding : : Which Masterclass to attend while at Soul Craft Festival (if any at all) and thinking this one or this one would be fun!
Wishing : : The school holidays weren't over. My littlest guy started school and I'm missing him like crazy!
Enjoying : : The heat of Summer now that we have a pool to cool down in.
Waiting : : For my next batch of cucumber plantings to get their legs and grow, grow, grow.
Liking : : That water at our new farm is so much easier to come by and our vegetable garden is producing amazing produce as a result.
Wondering : : How long it will be before I can light my wood fired oven again - it's way too hot to light it today!

Loving : : That we bought a boat! And that trips to the water to take the kids skiing are now a regular part of our days.
Pondering : : Expanding my vegetable patch for the next Spring/Summer planting.
Considering : : Raised garden beds for my leafy greens and small herbs.
Buying : : Nothing!!!!! And embracing bartering where I can.
Watching : : 'The Good Life' on DVD with my family, again.
Next watch : : Not too sure, any recommendations?
Hoping : : The Kombucha Scoby that an Insta-friend sent me in the mail arrives safely today.
Marveling : : At the kindness of complete strangers.
Cringing : : At the waste people create without even noticing - that's a topic for a whole other post one day soon.
Needing : : A hair cut! It has been almost 18 months since I stepped into a hair salon - gasp!!!
Questioning : : Whether I've planted enough tomatoes to make our annual sauce/relish/pasata for the pantry to enjoy over the cooler months.
Smelling : : Salvia flowering in my garden - its sweet smell is absolutely intoxicating!
Wearing : : Simple cotton dressed and bare feet, daily.
Following : : The Soul Craft Festival Instagram feed.
Worrying : : About the influence of full-time school on my littlest guy.
Noticing : : That over the holidays my biggest girl grew that much that she's now almost as tall as me!
Knowing : : That I must savor everyday - my little people are growing up way too fast.
Thinking : : About taking my family on an extended overseas holiday and tossing up between Africa and Europe.
Admiring : : Amanda Blake Soule, as always!
Sorting : : Through boxes of fibre and planning a blanket project for 2018.
Getting : : Excited for the year ahead and what it has in store for my little family.
Bookmarking : : New recipes to try from this book.
Coveting : : The last of the Xmas chocolates!
Disliking : : Nothing really.
Opening : : A special present from my dear friend Kylie.
Snacking : : On Zucchini Walnut Cake from this book.
Hearing : : The wind as it whips through the big Iron bark trees outside my window.

Sunday, December 18, 2016

Xmas Tree Tutorial

Can it really only be 6 days to Xmas!?! 
For those of you, like me, who'll be crafting up to the last minute, I thought I'd share a super quick and simple ornament tutorial for you to whip up as last minute gifts or to adorn your tree.

Before we begin, here's a little breakdown of the basic stitches. I'm using US crochet terms, because I always do.
sl st [slip stitch] :: insert hook, yarn over, pull the loop back through the stitch, then through the loop on your hook.
sc [single crochet] :: insert hook, yarn over, pull the loop back through the stitch (two loops on hook), yarn over and pull through both loops on hook (this is the same as UK dc stitch)
dc [double crochet] :: yarn over, insert hook, yarn over, pull the loop back through the stitch (three loops on hook), yarn over and pull through two loops on hook (two loops left on hook), yarn over and pull through remaining two loops (this is the same as UK tre stitch)
I am using 8ply cotton and a 3mm hook for this tree to keep it a nice compact sized star, but you could use and yarn and hook that you like, or have on hand.

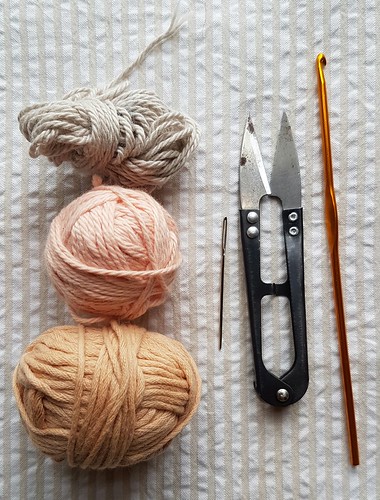
Okay, gather your supplies! - you will need 3 contrasting shades of 8ply cotton yarn, 3mm hook, darning needle, scissors, a firm piece of cardboard, star shaped button, cotton drill tape for tag, embroidery thread, and string for hanging. 
You will be making 2 crochet trees and joining them together.
tree 1 
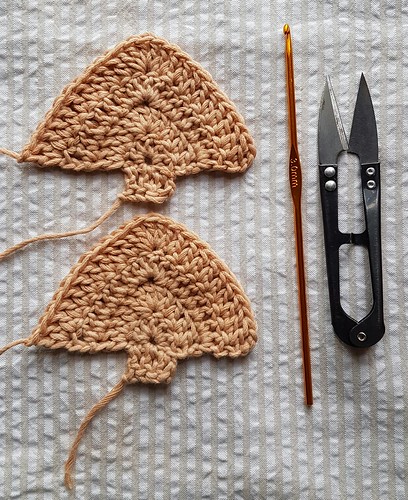
To start, using shade 1 and leaving a tail of approx 25cm make a magic loop (great tutorial here). 
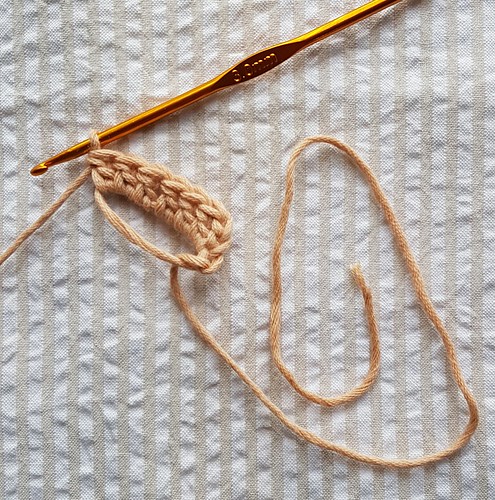
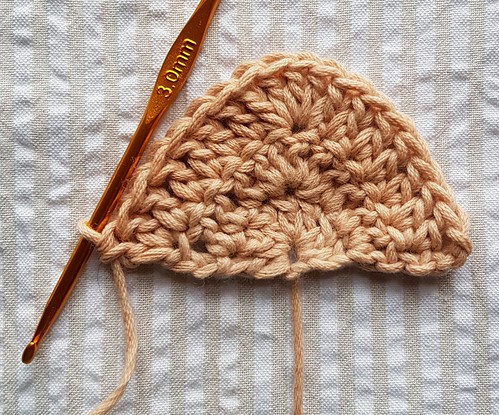
Row 1 - Chain 3 (this is your turning ch) and work 6dc into the magic loop as pictured below. 
tree 2
Pull the magic loop up tight before you begin Row 2 like so...
tree 3 
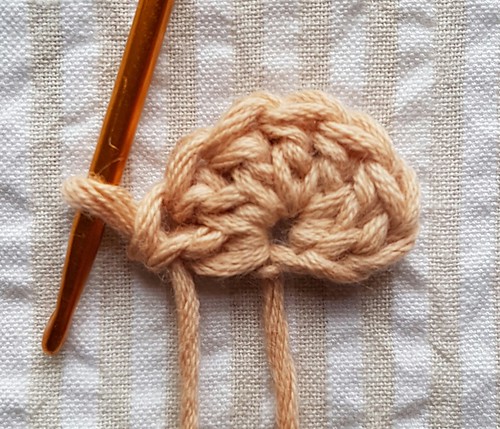
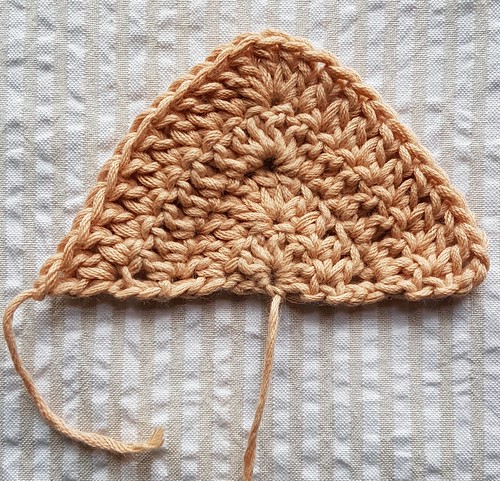
Row 2 - Ch3 (turning ch) and turn your work. 
dc into top of the last dc from the previous Row and into each of the next 2 dc. 
Now, 5dc into the next dc and 1dc into each of the next 2 dc.
2dc into the 3rd chain of the ch3 (turning ch) from the first Row. 
It should be looking like the picture below, right?
tree 4 
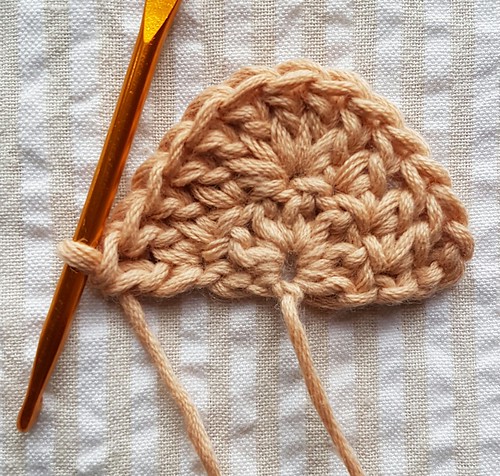
Row 3 - Ch3 and turn your work. 
dc into top of the last dc from the previous Row and into each of the next 5 dc. 
Now, 5dc into the next dc and 1dc into each of the next 5 dc.
2dc into the 3rd chain of the turning ch from the previous Row. 
tree 5 
Row 4 - Ch3 and turn your work. 
dc into top of the last dc from the previous Row and into each of the next 8 dc. 
Now, 5dc into the next dc and 1dc into each of the next 8 dc.
2dc into the 3rd chain of the turning ch from the previous Row. Fasten off.
This is the first colour section of your tree complete, we now need to add the trunk.
tree 6 
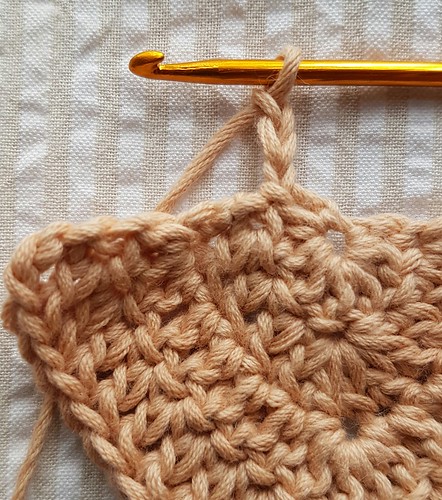
Using the 25cm tail that you left at the start slip stitch across 2 stitches at the base of your tree and ch3 like so.
tree 7 
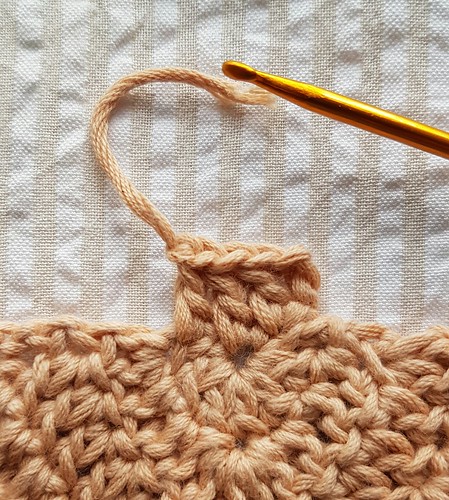
Turn your work and work 3 dc evenly along the bottom of your tree to create a trunk and fasted off, as pictured.
tree 8 
Now make another tree exactly the same. 
tree 9 
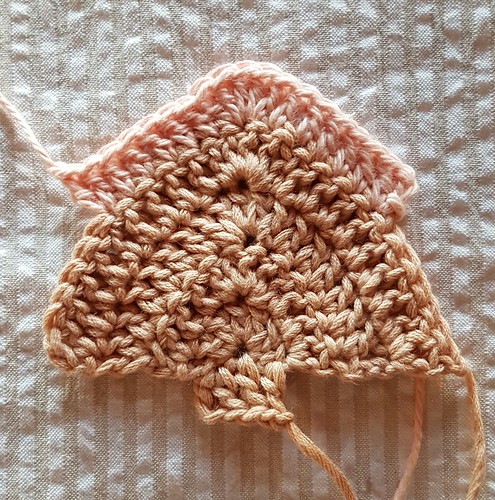
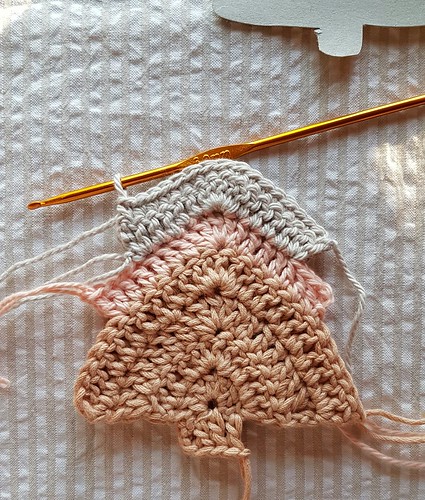
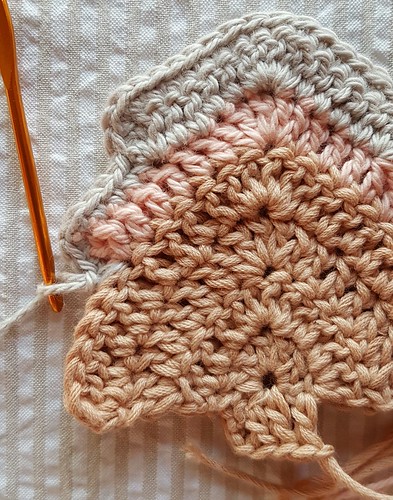
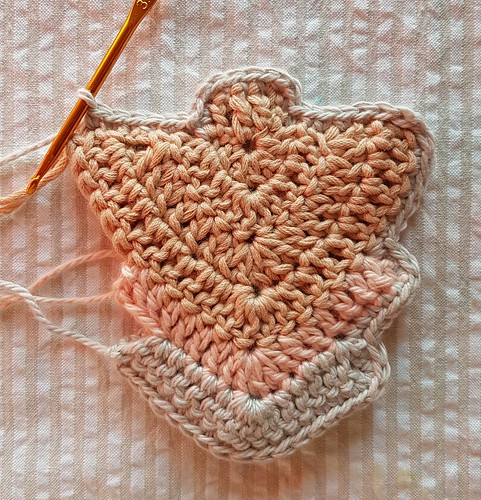
Row 5 - Using another shade of yarn and working into the back of your work, slip stitch into the 7th dc from the egde and ch3. 
1dc into the same dc and into each of the next 5 dc.
Now, 5dc into the next dc and 1dc into each of the next 5 dc.
2dc into the next dc and fasten off.  
tree 10 
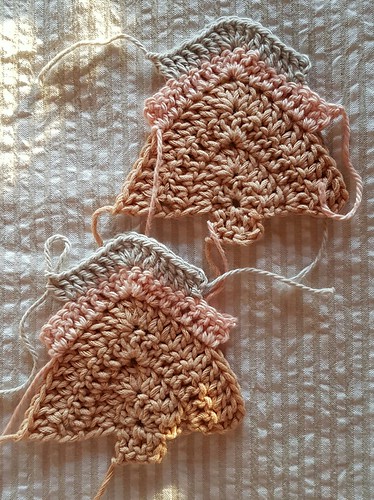
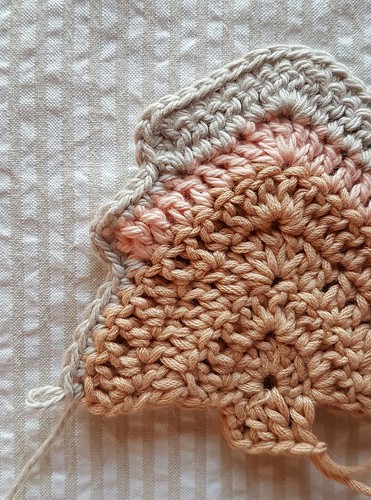
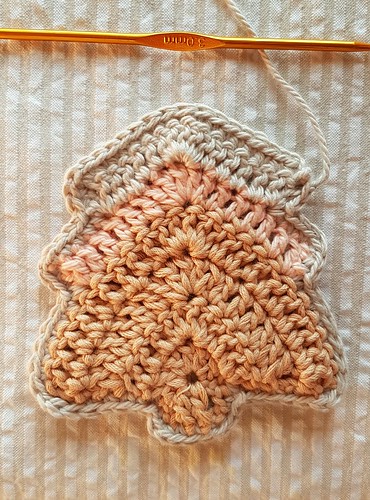
Row 5 - changing shades and working into the back of your work again, slip stitch into the 5th dc from the egde and ch3. 
1dc into the same dc and into each of the next 4 dc.
Now, 5dc into the next dc and 1dc into each of the next  dc.
2dc into the next dc and fasten off.  

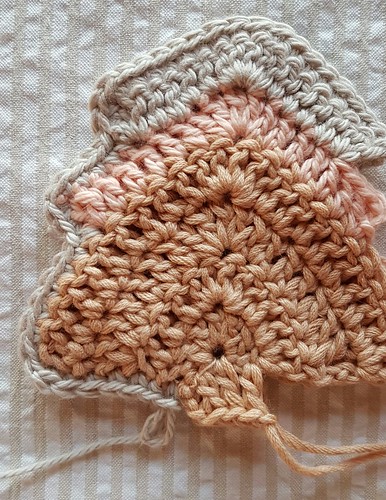
Repeat row 4 and 5 for both trees but DO NOT fasten off on the 2nd trees final shade like so - you will be using this yarn to join and edge your tree to finish it off.
tree 11 
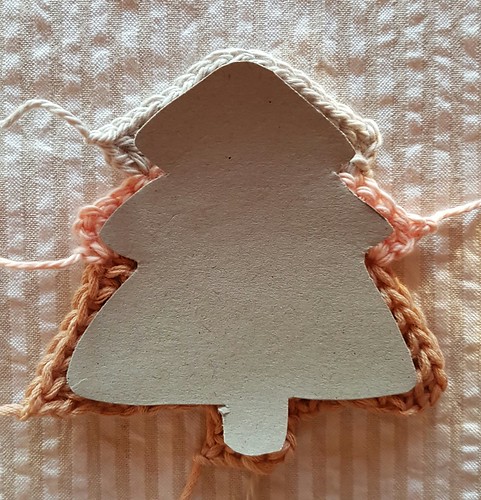
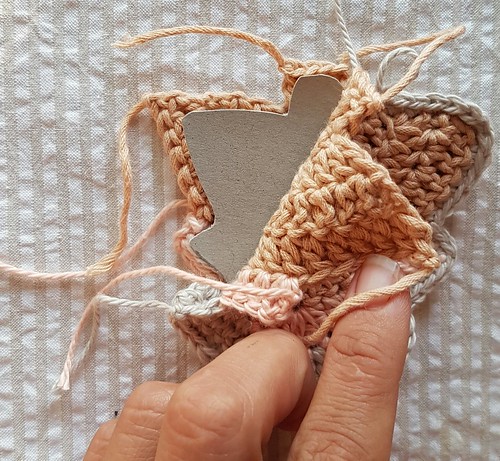
Using your cardboard, cut out an insert to wedge between your 2 trees, this is to keep your ornament flat and stiff for hanging.
tree 12 
Now, time to join your trees together.
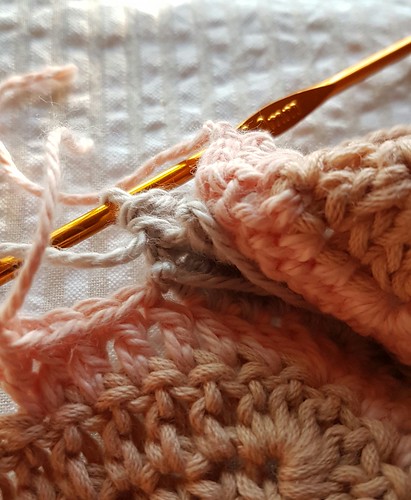
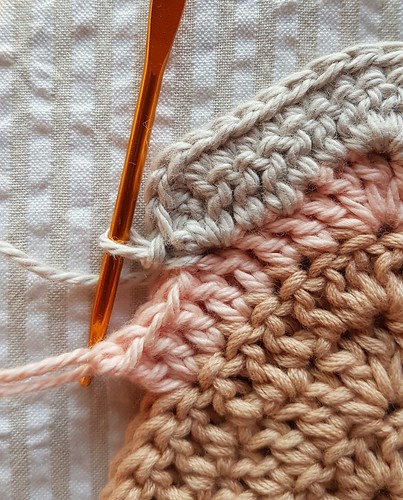
With the right sides of both trees facing, and the tree with the yarn still attached at the back, work 1sc into each stitch along the top of both trees to join them together as pictured below.
tree 13 
Now work 2sc into the 1 corner stitch and 2 sc down the edge of the trees.
When you get to your loose ends simply tuck them to the inside of your tree and continue to crochet around your tree - this saves having to sew all of those ends in later on.
tree 14 
Continue working sc around the outside of your trees as pictured,
tree 15 
tucking in all of your ends as you go and working 2sc into each corner.
tree 16 
tree 17 tree 18 
tree 19 
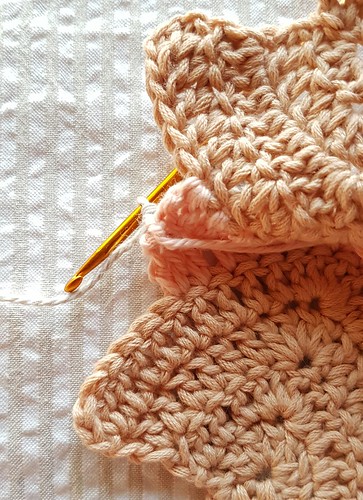
When you get to the base of the trunk you will need to insert your cardboard cut out.
tree 20 
Then continue working sc around the remainder of your trees.
tree 21 
Finishing with a slip stitch into the base of the 1st sc. Fasten off.
tree 22 
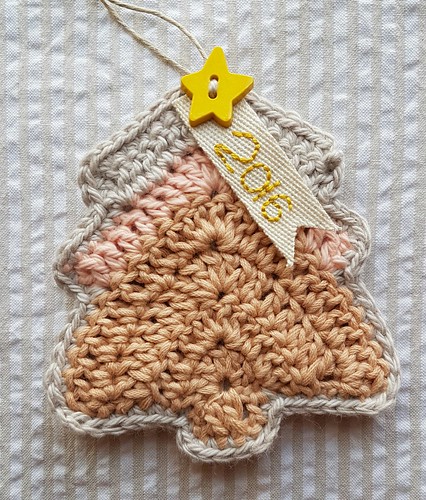
Thread in your 1 end, sew on a button and attach a loop for hanging. I like to personalize my tree's with a little stitching of the year but you could stitch anything you like, a name, picture, date, etc - or skip this tag altogether, it's totally up to you.
tree 23
These trees would be great made on mass and hung in a garland. They'd also make great gift tags or why not try making just 1 tree in a chunky cotton for a cute Xmas washer or coaster.

Merry Xmas - Enjoy!

Spring Seed Swap?

I had big plans of sharing a late Winter garden update with you all this post, full of beautiful pictures of Wintry produce such as peas (...