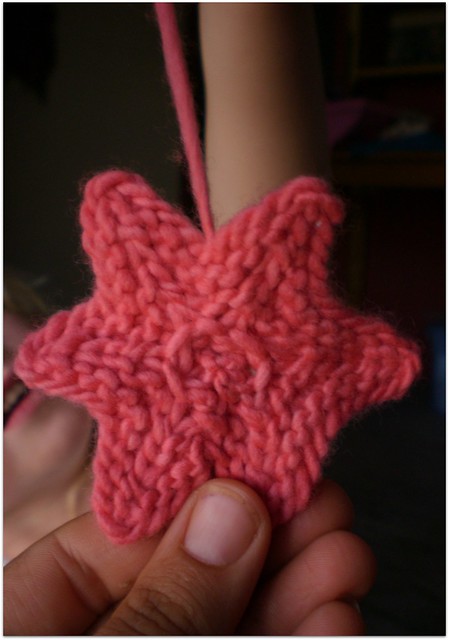
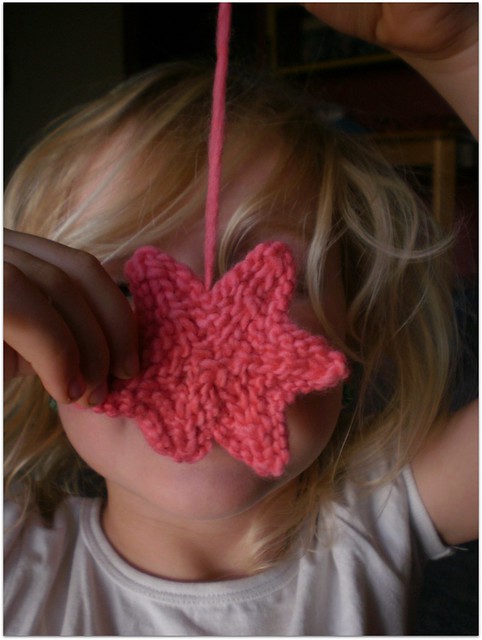
I've been knitting (and hooking) away at stars over the past couple of weeks in an attempt to bring smiles to the faces of the 220 kids who are stuck in the Westmead Children's Hospital over Xmas this year. My local community is helping out as well and we already have a whopping 60+ stars adorning the Charity Tree in my Shop.
So, today I thought it would be fun to share my little knitted Xmas Star pattern and to make it even easier I've put it into a tutorial...
Let me first begin by saying that this pattern was not entirely designed by me - I picked it up off a gorgeous elderly lady who happened upon my store last year. She briefly told me a simple equation for crating a 6 pointed star and from there I've crafted a 5 pointed one as well....
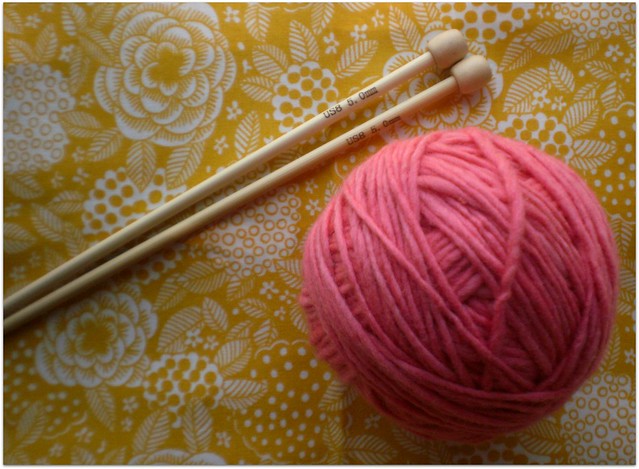
Before we start, gather up your supplies. I'm using 5mm straight needles and some Malabrigo Worsted (approx. 10ply). These stars don't even use 5g of yarn so scraps are perfect!!!
Abbrev : : k = knit, sl = slip, k2tog = knit 2 stitches together, psso = pass slip stitch over, st = stitch.
If you have trouble with any of these stitchs I'm sure Mr Google would be more than happy to help you out with a how-to...
Using the Long-tail method cast on 66 stitches.
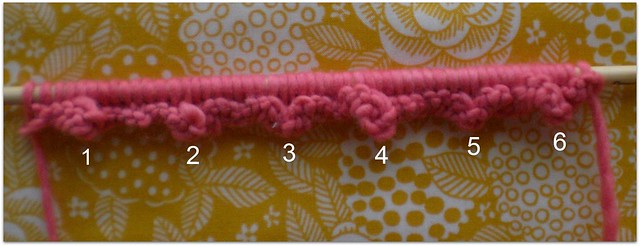
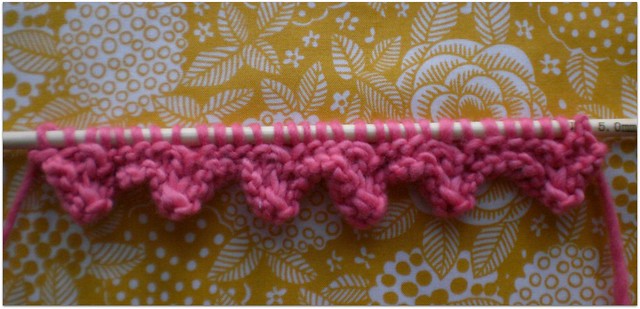
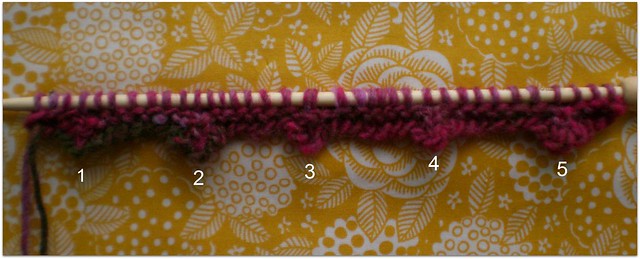
Row 1 - Knit 4 stitches, (sl1, k2tog, psso, k8) 5 times, sl1, k2tog, psso, k4.
After Row 1 you should be able to start seeing the points of the star forming as numbered in the picture below....
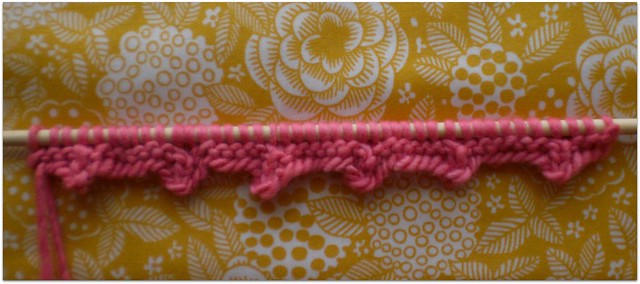
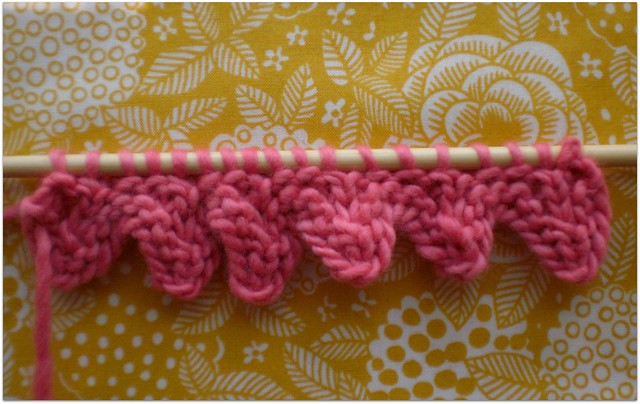
Row 2 - k3, (sl1, k2tog, psso, k6) 5 times, sl1, k2tog, psso, k3.
Row 3 - k2, (sl1, k2tog, psso, k4) 5 times, sl1, k2tog, psso, k2.
Row 4 - k1, (sl1, k2tog, psso, k2) 5 times, sl1, k2tog, psso, k1.
Row 5 - (sl1, k2tog, psso) 5 times.
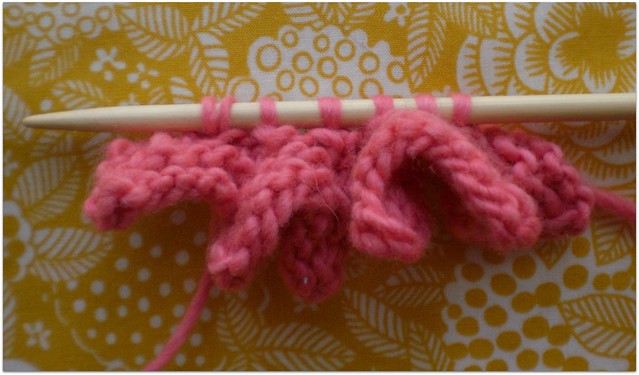
Row 6 - O.K... Now you're nearly done - (K2tog) 3 times, k1.
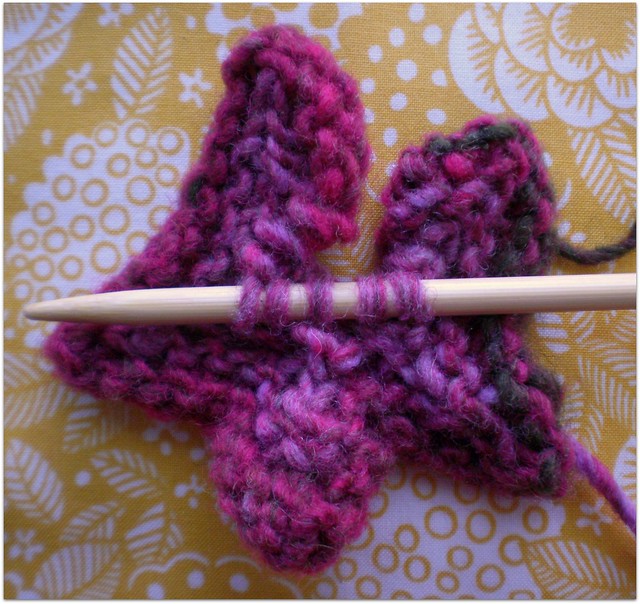
Cut an 8 inch tail. Thread the tail through the live stitches....
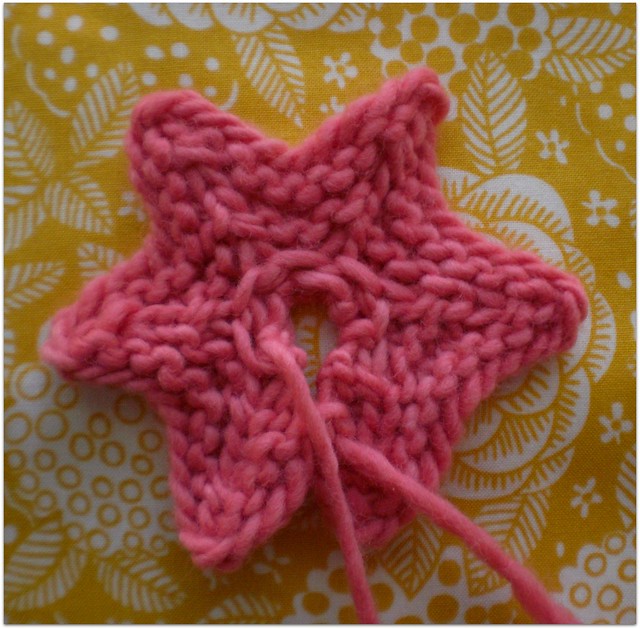
Pull up tight and sew the short row closed like so...
Now, if you'd like a 5 pointed star - it's even easier, simply cast on 55sts intead of 66.
You will be repeating Rows 1 - 5 (repeat what's in the brackets of each row 4 times instead of 5).
I hope I haven't confused you too much yet... :)
So, by casting on 55sts instead of 66 you will now only have 5 points to your star instead of 6....
After Row 5 cut an 8 inch tail, thread it through the live stitches on the needle and pull up tight....
Sew in your ends, make a loop at the top for hanging and you're done....
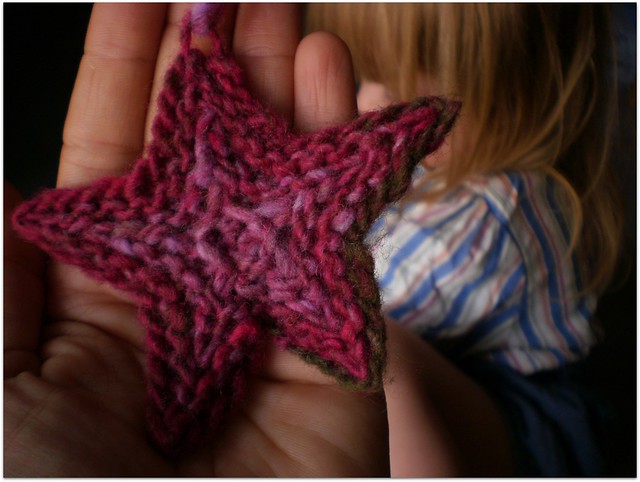
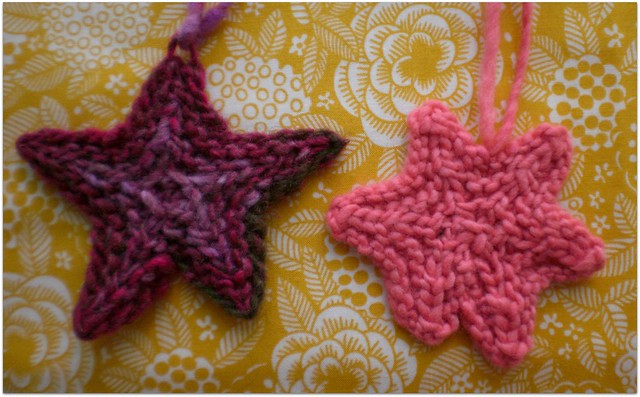
Pretty easy, right???? In the picture below I pinned out each of the points of the star on the left and steamed it with a hot iron. This makes for a much nicer pointier star - don't you think???
Enjoy!!!! *^_^*




They are gorgeous and super clever Jodie. I love the idea that you are working on them as a community too. I think I might have a go at a few over the next few days now that I am down to only scraps of wool in the caravan.
ReplyDeleteI've made crocheted stars but have never seen knitted ones!! Knitting is my first love and stars are my fav, so this makes me very happy!
ReplyDeleteThank you so much for this tutorial! Super clever!!!
ReplyDeleteThey look great.And I love a community project.
ReplyDeleteAlso if you don't mind...I need to ask you a beetroot question! When do you pick them? Mine are appearing at the top , but they don't seem that big. Thanks!
Beautifully modelled by Miss Connie and Mill-mill;) the stars in your window look soooo good!
ReplyDeleteThey are too cute!! :-)
ReplyDeleteThank-you for the pattern and tutorial! I love knitting, looking forward to giving these a go!
ReplyDeleteWhat a great tutorial and what a great charity project for your community.
ReplyDeleteHow wonderful of you to help out others by using knitting! The star is gorgeous!
ReplyDeleteJodie - these are so sweet!! My sister in law wrote up a blog post for us and it is featured today on our blog.
ReplyDeletehttp://sistersplayinghouse.blogspot.com/2011/12/crocheted-star-motifs-beautiful.html
This is such an inspiring project to bring joy during Christmas.
ReplyDelete