Sunday, December 18, 2016

Xmas Tree Tutorial

Can it really only be 6 days to Xmas!?! 
For those of you, like me, who'll be crafting up to the last minute, I thought I'd share a super quick and simple ornament tutorial for you to whip up as last minute gifts or to adorn your tree.

Before we begin, here's a little breakdown of the basic stitches. I'm using US crochet terms, because I always do.
sl st [slip stitch] :: insert hook, yarn over, pull the loop back through the stitch, then through the loop on your hook.
sc [single crochet] :: insert hook, yarn over, pull the loop back through the stitch (two loops on hook), yarn over and pull through both loops on hook (this is the same as UK dc stitch)
dc [double crochet] :: yarn over, insert hook, yarn over, pull the loop back through the stitch (three loops on hook), yarn over and pull through two loops on hook (two loops left on hook), yarn over and pull through remaining two loops (this is the same as UK tre stitch)
I am using 8ply cotton and a 3mm hook for this tree to keep it a nice compact sized star, but you could use and yarn and hook that you like, or have on hand.

Okay, gather your supplies! - you will need 3 contrasting shades of 8ply cotton yarn, 3mm hook, darning needle, scissors, a firm piece of cardboard, star shaped button, cotton drill tape for tag, embroidery thread, and string for hanging. 
You will be making 2 crochet trees and joining them together.
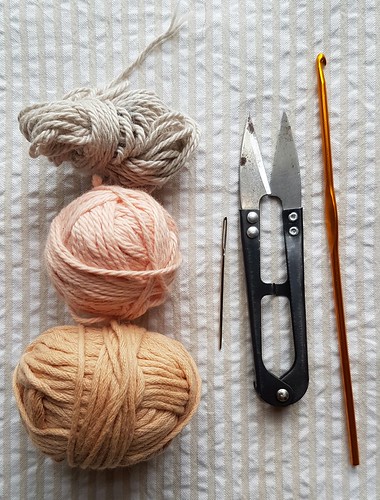
tree 1 
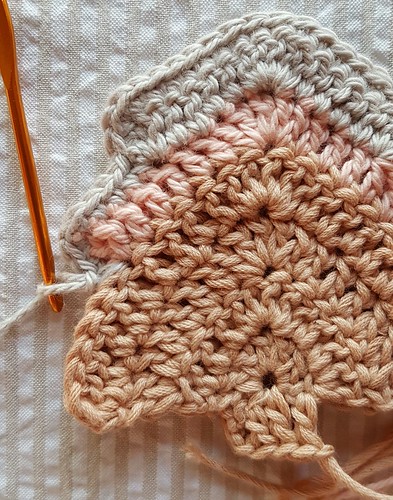
To start, using shade 1 and leaving a tail of approx 25cm make a magic loop (great tutorial here). 
Row 1 - Chain 3 (this is your turning ch) and work 6dc into the magic loop as pictured below. 
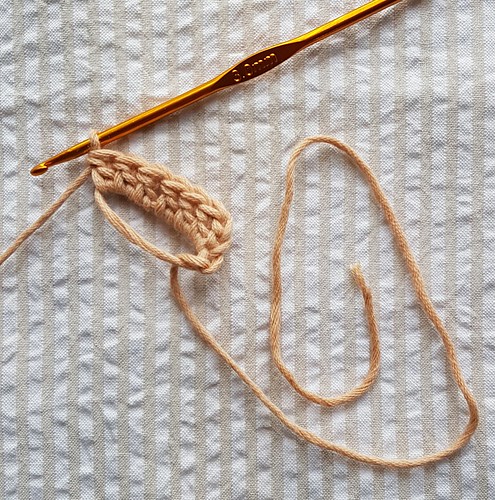
tree 2
Pull the magic loop up tight before you begin Row 2 like so...

tree 3 
Row 2 - Ch3 (turning ch) and turn your work. 
dc into top of the last dc from the previous Row and into each of the next 2 dc. 
Now, 5dc into the next dc and 1dc into each of the next 2 dc.
2dc into the 3rd chain of the ch3 (turning ch) from the first Row. 
It should be looking like the picture below, right?
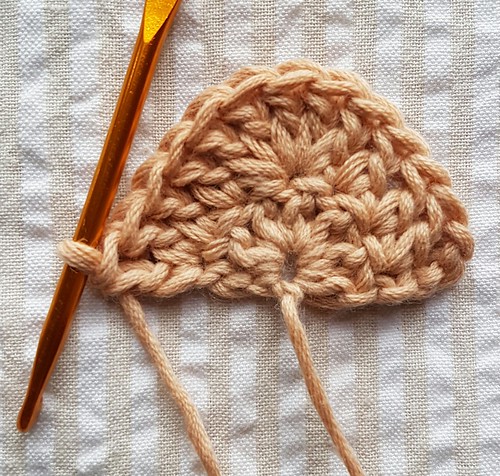
tree 4 
Row 3 - Ch3 and turn your work. 
dc into top of the last dc from the previous Row and into each of the next 5 dc. 
Now, 5dc into the next dc and 1dc into each of the next 5 dc.
2dc into the 3rd chain of the turning ch from the previous Row. 
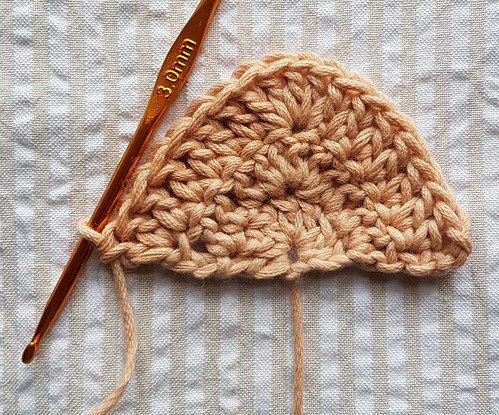
tree 5 
Row 4 - Ch3 and turn your work. 
dc into top of the last dc from the previous Row and into each of the next 8 dc. 
Now, 5dc into the next dc and 1dc into each of the next 8 dc.
2dc into the 3rd chain of the turning ch from the previous Row. Fasten off.
This is the first colour section of your tree complete, we now need to add the trunk.
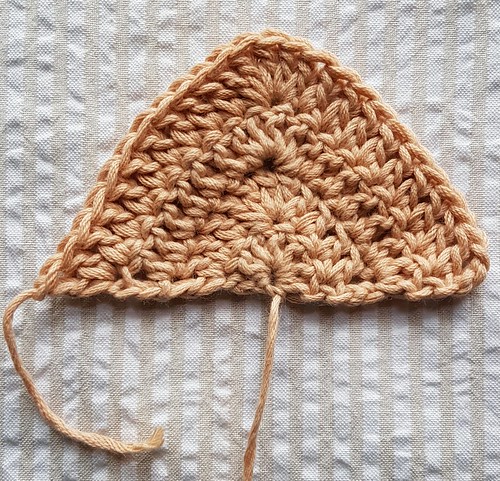
tree 6 
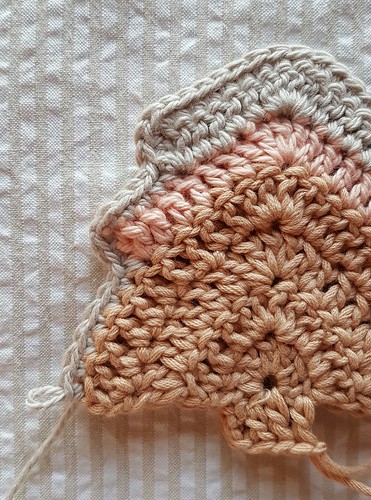
Using the 25cm tail that you left at the start slip stitch across 2 stitches at the base of your tree and ch3 like so.
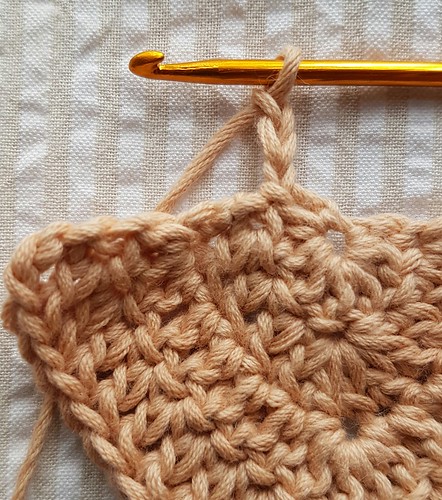
tree 7 
Turn your work and work 3 dc evenly along the bottom of your tree to create a trunk and fasted off, as pictured.

tree 8 
Now make another tree exactly the same. 
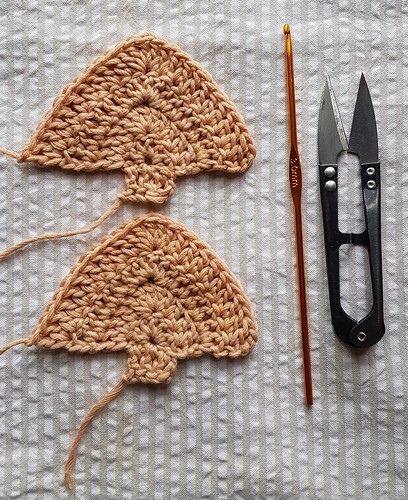
tree 9 
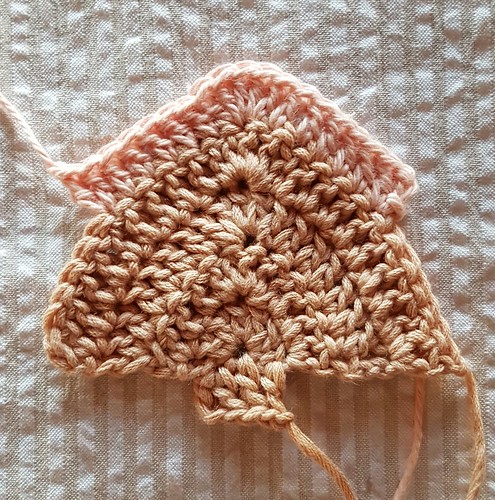
Row 5 - Using another shade of yarn and working into the back of your work, slip stitch into the 7th dc from the egde and ch3. 
1dc into the same dc and into each of the next 5 dc.
Now, 5dc into the next dc and 1dc into each of the next 5 dc.
2dc into the next dc and fasten off.  
tree 10 
Row 5 - changing shades and working into the back of your work again, slip stitch into the 5th dc from the egde and ch3. 
1dc into the same dc and into each of the next 4 dc.
Now, 5dc into the next dc and 1dc into each of the next  dc.
2dc into the next dc and fasten off.  

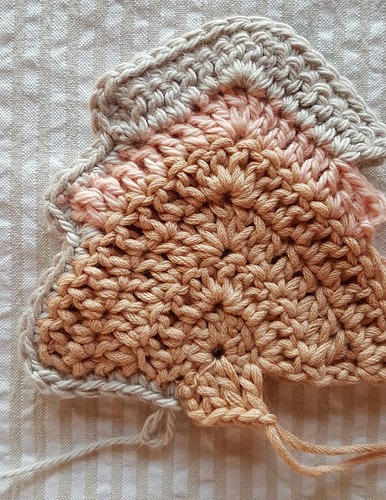
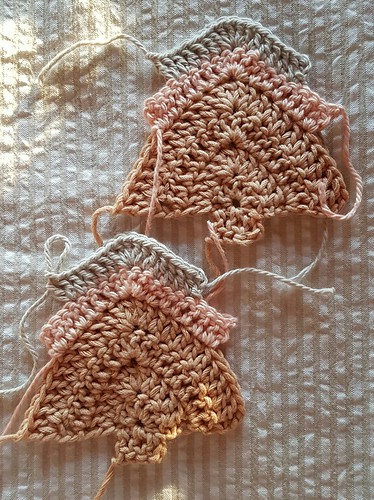
Repeat row 4 and 5 for both trees but DO NOT fasten off on the 2nd trees final shade like so - you will be using this yarn to join and edge your tree to finish it off.
tree 11 
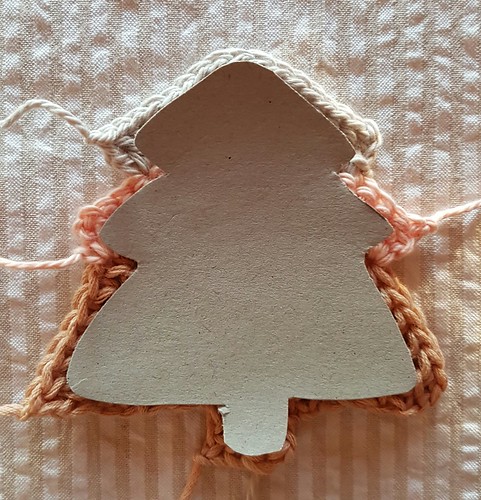
Using your cardboard, cut out an insert to wedge between your 2 trees, this is to keep your ornament flat and stiff for hanging.
tree 12 
Now, time to join your trees together.
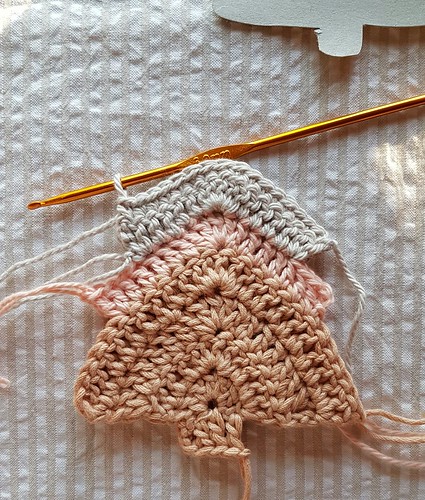
With the right sides of both trees facing, and the tree with the yarn still attached at the back, work 1sc into each stitch along the top of both trees to join them together as pictured below.
tree 13 
Now work 2sc into the 1 corner stitch and 2 sc down the edge of the trees.
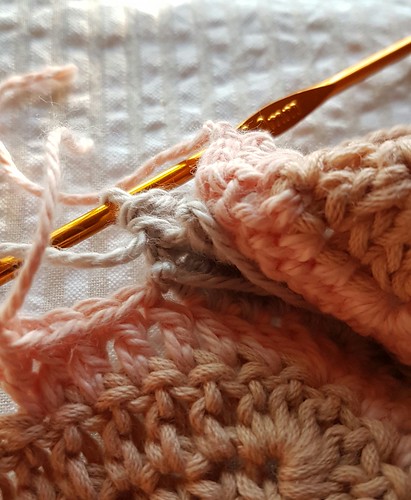
When you get to your loose ends simply tuck them to the inside of your tree and continue to crochet around your tree - this saves having to sew all of those ends in later on.
tree 14 
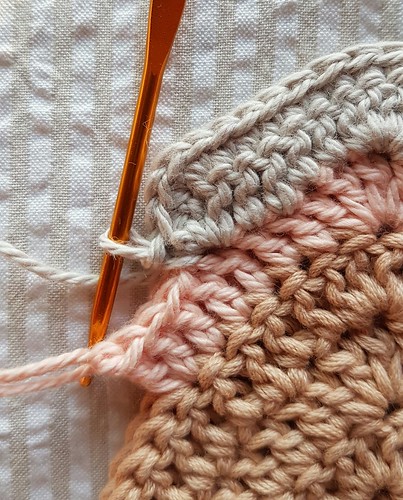
Continue working sc around the outside of your trees as pictured,
tree 15 
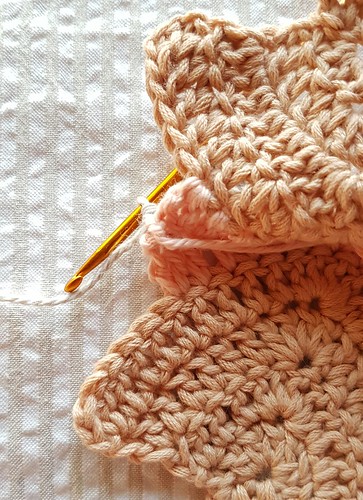
tucking in all of your ends as you go and working 2sc into each corner.
tree 16 
tree 17 tree 18 
tree 19 
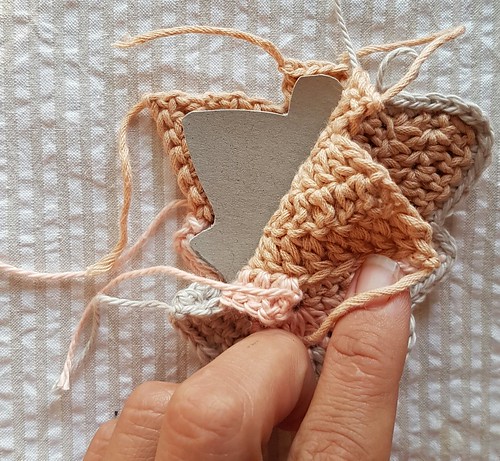
When you get to the base of the trunk you will need to insert your cardboard cut out.
tree 20 
Then continue working sc around the remainder of your trees.
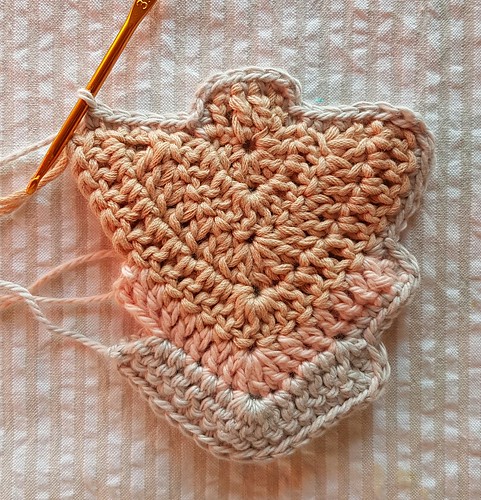
tree 21 
Finishing with a slip stitch into the base of the 1st sc. Fasten off.
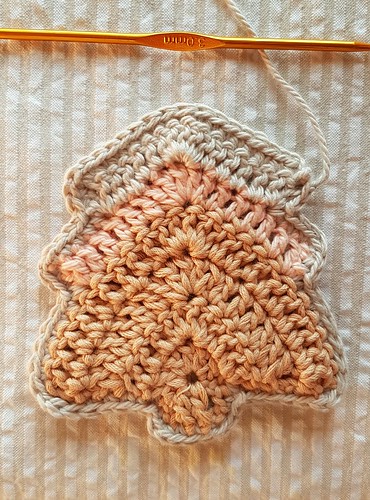
tree 22 
Thread in your 1 end, sew on a button and attach a loop for hanging. I like to personalize my tree's with a little stitching of the year but you could stitch anything you like, a name, picture, date, etc - or skip this tag altogether, it's totally up to you.
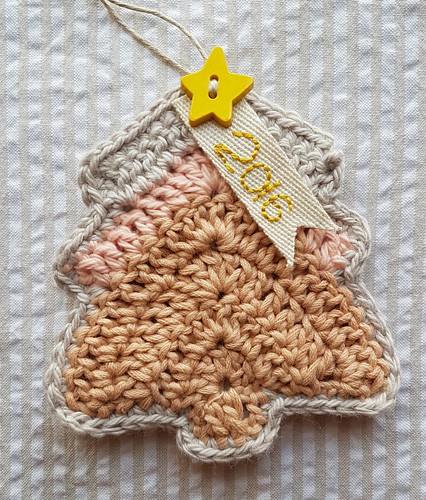
tree 23
These trees would be great made on mass and hung in a garland. They'd also make great gift tags or why not try making just 1 tree in a chunky cotton for a cute Xmas washer or coaster.

Merry Xmas - Enjoy!

Thursday, September 1, 2016

right now I'm....

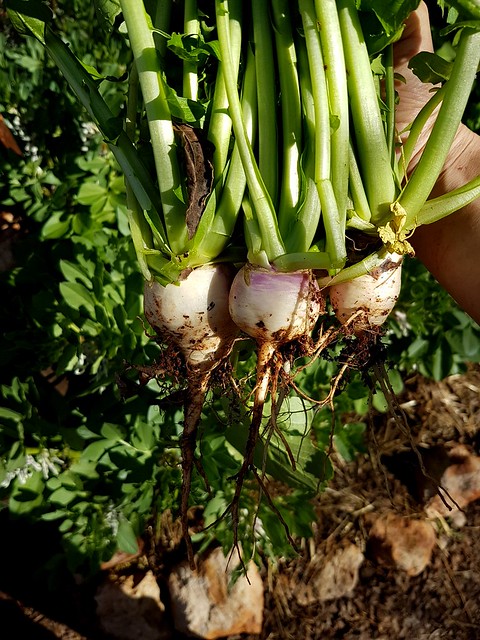
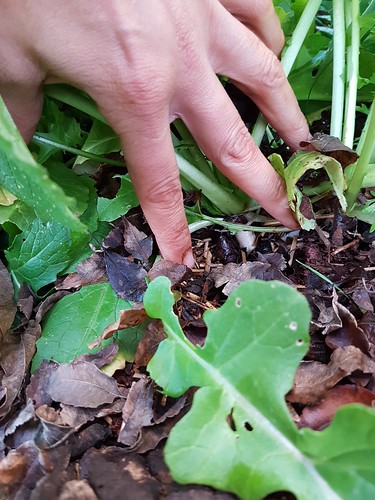
...pulling up baby turnips with the sun on my back....
TURNIPS
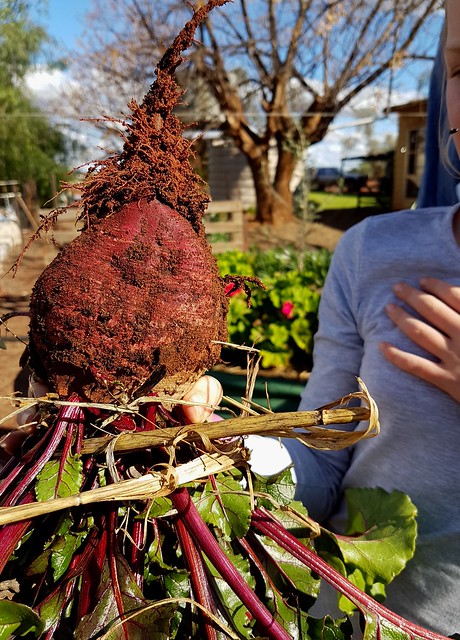
....noticing a mammoth beetroot hiding amongst my beet patch, pulling it up also and planning to slow roast it, like this, to enjoy with red meat and a salad for dinner tonight....
BEETROOT
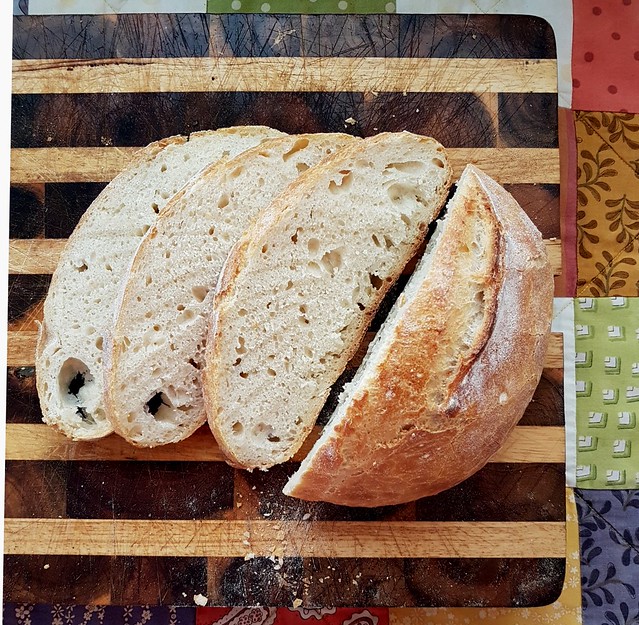
....trialling new Sourdough recipes, in search of the perfect loaf. For the loaf below I used the LunchLady recipe from her 3rd magazine, it's pretty good and super easy to make - which is a bonus.
SOURDOUGH 1
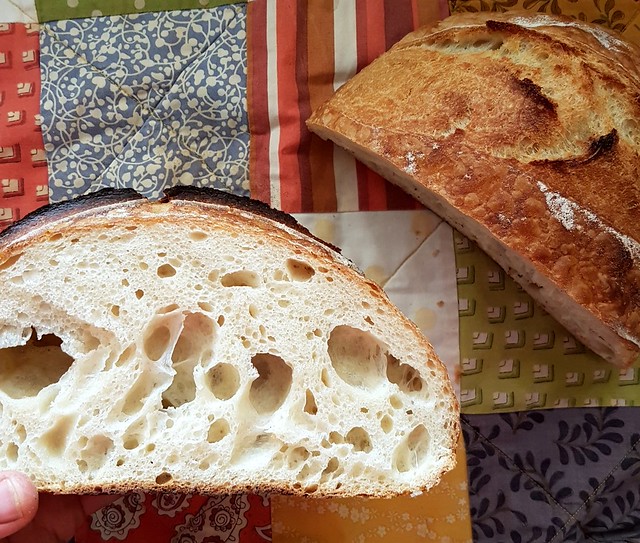
....but I think I'm almost there with this loaf here - I've increased the hydration of my normal (original) loaf from 70% to 85% and its worked a treat!
SOURDOUGH 3
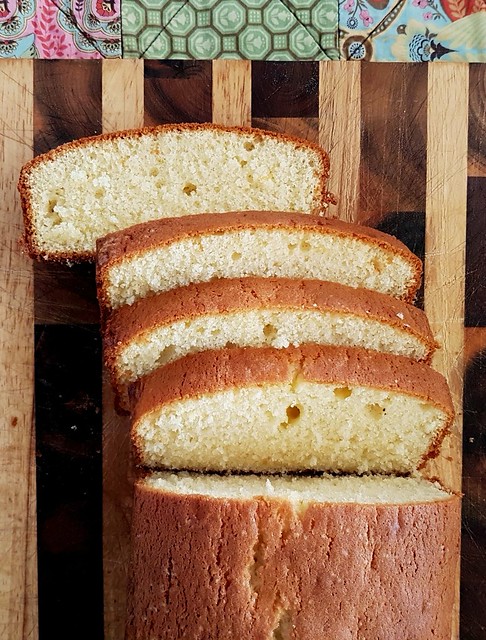
....eating a different cake E.V.E.R.Y day. Today we're enjoying Donna Hay's Lemon Pound cake from this book, and it's simply divine...
LEMON CAKE
...how about you? what are you doing right now?

Monday, August 29, 2016

At the End of August

Unfortunately the recent month has seen my family travelling more than we would normally prefer to. Our farmer has fallen ill, very ill, and there's been many tests, specialist visits and stays in motels over the past month, as we try to nut out just exactly what is wrong with the {rock} of our family unit. There's still a long road ahead, with many more tests still to come, but at the moment we are home, enjoying the simple pleasures and thanking our lucky stars to have a beautiful home of our own and to live the life that we do.

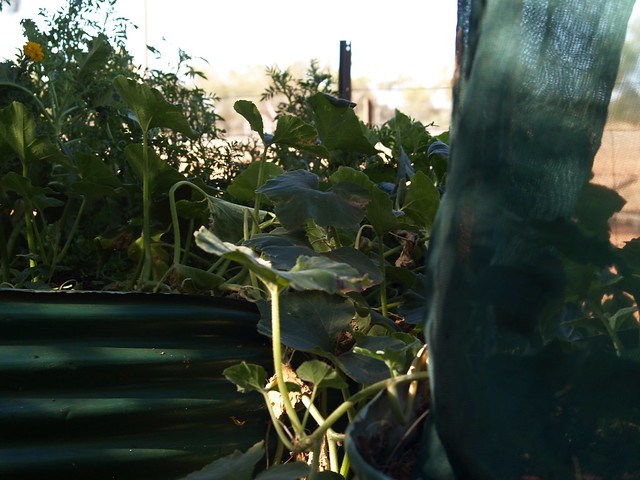
So today, I'm reflecting on my garden and how amazing it is producing this year despite the neglect of the past 4 weeks. I currently have Baby Turnips slowly plumping up, and this recipe will definitely be what I make with my first harvest - baked turnips, YUM! 
turnips 1
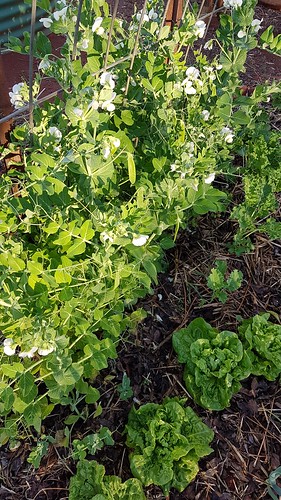
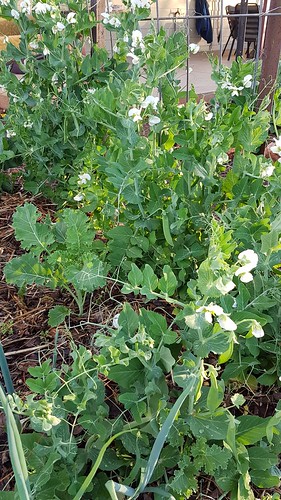
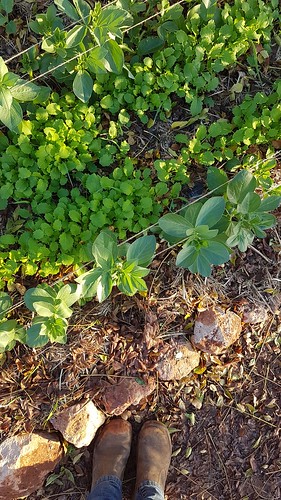
There are Peas growing in abundance almost everywhere, with lettuce and kale planted amongst the vines in spare patches of dirt. We're enjoying all parts of the plant this year, before it sets fruit - flowers, young shoots, and baby pods before the peas form. They're all simply divine and deliciously crunchy in a salad, especially with this Lime Cilantro dressing drizzled over the top!
peas 3 peas 2
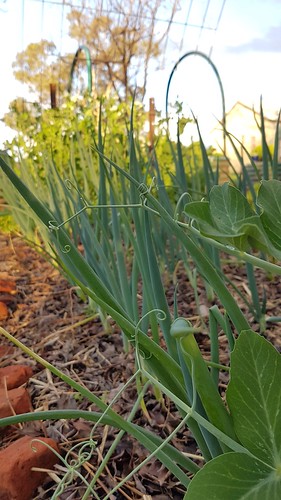
We have hundreds of onions, in neat uniformed rows down the centre of most beds.  
peas 1
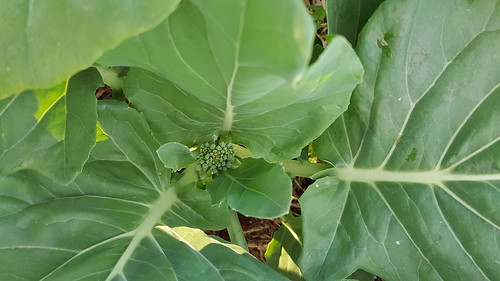
And at least 50 Broccolini plants which are all flowering. We're harvesting this delicious crisp veg daily at the moment, and adding it to most meals. This simple Broccolini Pizza with a sourdough base is a big hit with all members of my family.
broccolini 1
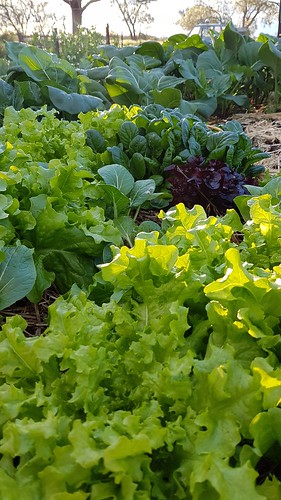
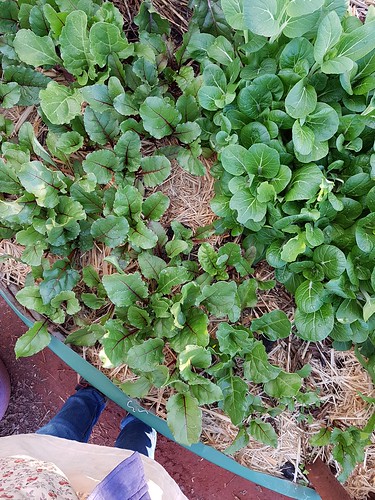
Then there's the Lettuce and Asian greens, OH.SO.MANY! With the weather slowly warming, in anticipation of Spring, I love that Salads and stir-fry's are in full swing here!  
lettuce 1
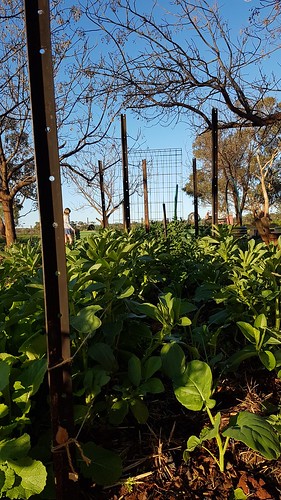
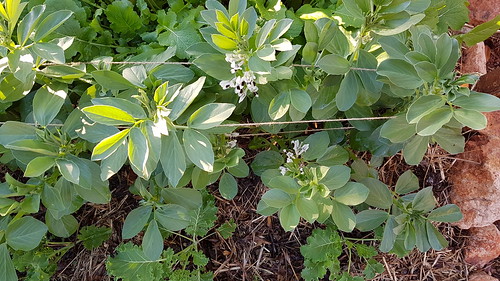
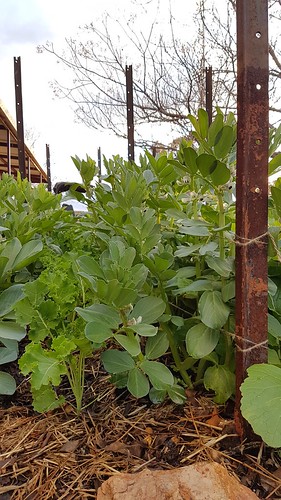
Then there's the Broadbeans, flowering and setting their pods.
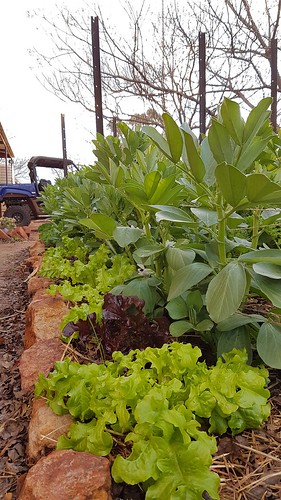
broadbeans 1 broadbeans 2 broadbeans 3 broadbeans 4
With lettuce, kale, and baby turnips planted in their understory. I can't wait to try out this recipe for Broadbean pesto very soon!
broadbeans 5 broadbeans 6
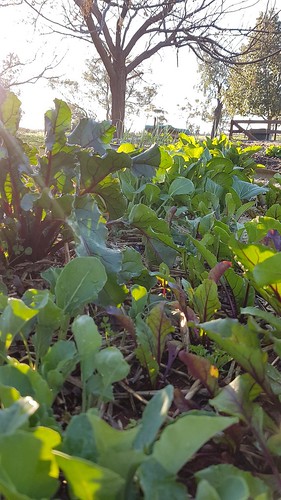
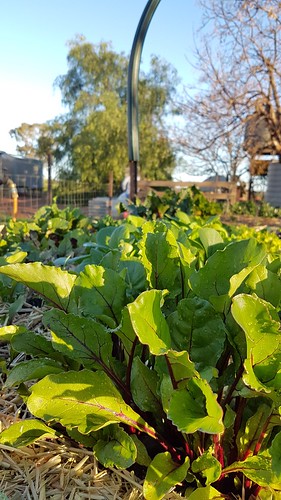
And of coarse there's the beetroot, hundreds and hundreds of delicious blood red beetroot.
beets 4 beets 3 beets 2
I simply love beetroots and every year I grow an abundance of this delicious root to preserve for the months ahead.

Are you growing an abundance of produce to feed your family where you are?

Friday, June 3, 2016

Maltese Fisherman's Hat

Each year, as the weather cools, I knit hats for my family. This year I'm visiting a favourite knitting book, the Knitter's Almanac by Elizabeth Zimmerman, and making the 'Maltese Fisherman's Hat' for all three of my little people - and my big farmer boy too!
088
Elizabeth is an amazing woman who truly did change the face (and shape) of knitting and I simply love her book 'Knitter's Almanac' and visit it often!! It's set out in months, with patterns to match the seasons and has loads of ramblings from Elizabeth about how she came about creating her patterns and ways to which you can alter them, if need be.
078
I'm knitting a pattern from the month of June. This month is filled with hats, simple yet gorgeous hats, and I want to knit all of them, one day!
081
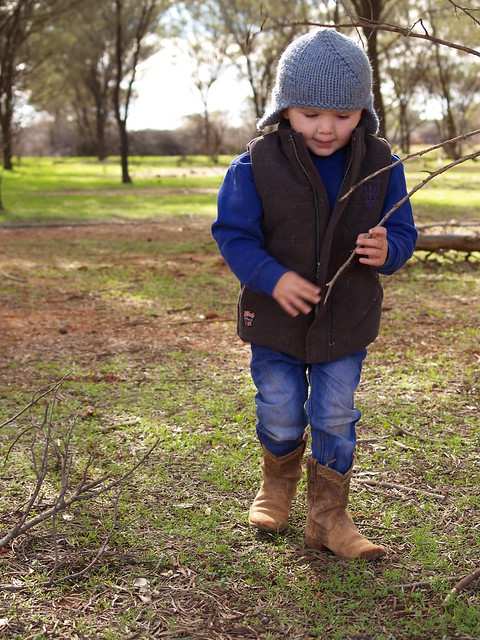
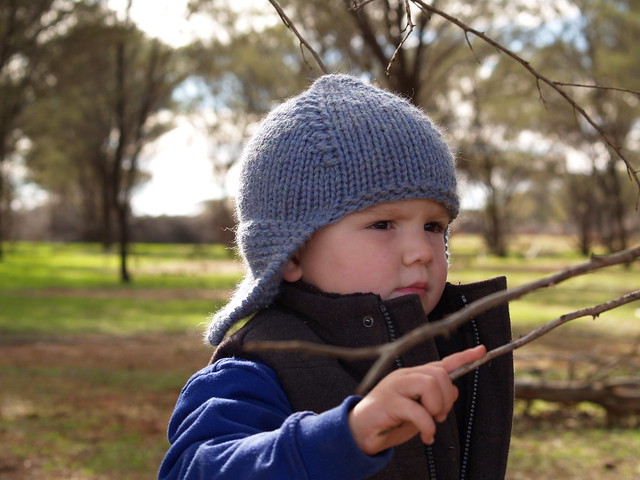
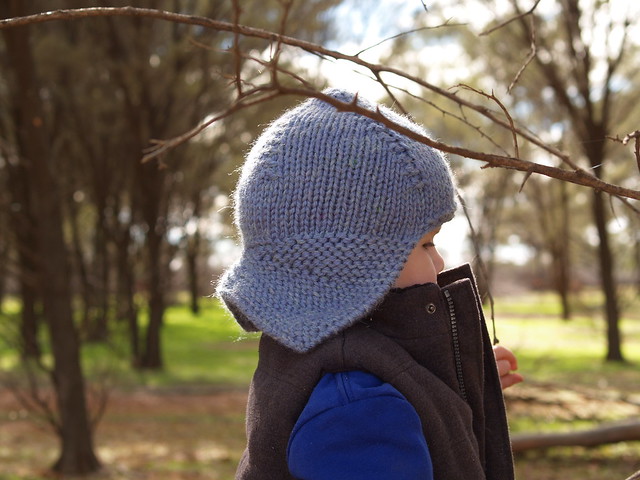
I've knit the smallest hat first and am loving the built in earflaps and neck warmer! This hat has a seamless construction and short row shaping to create the flaps. It's knit from the bottom up and I made this hat using 6mm needles and a 12ply and 8ply alpaca held together to create a chunky yarn.

073
I followed the pattern exactly until the last 2 decreases at the top of the hat - I totally skipped these as it made the hat form a point at the top, like a pixie type style.
097
So, are you knitting for your family at the moment in an effort to keep them warm through the cooler months too? Or maybe you're visiting a favourite book - if so, I'd love to hear about that too!!

Happy Friday Friends! x

Friday, May 27, 2016

wood chopping, photo taking, sheep, and bonfires.


I've been thinking a lot lately, I always do I guess, about many things, but after reading Jane's latest post it got me thinking even more! Sometimes we can get a little lost in the 'everyday' and it's nice to stop and take a moment to reflect on the things and times that make us smile - the simple, unconscious, everyday happenings that just seem to wrap us up like a big hug and warm the heart.
 
Here are some of mine.....
 
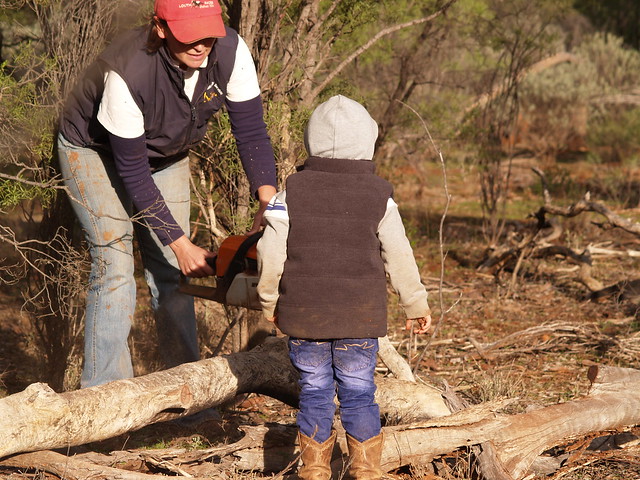
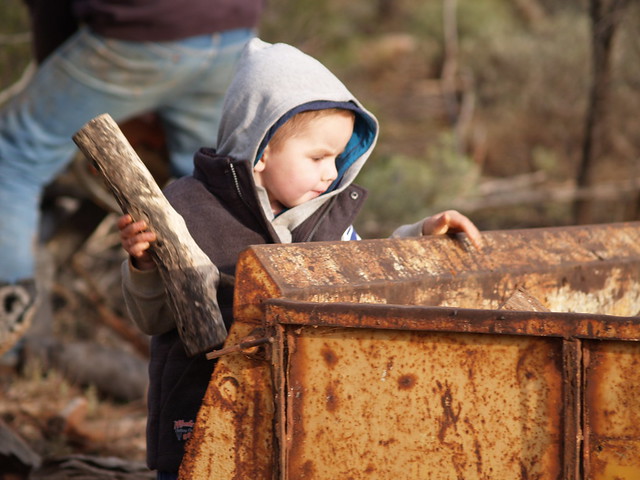
Chopping wood with my little people,
028
and marvelling at how helpful and independent they are becoming.
031
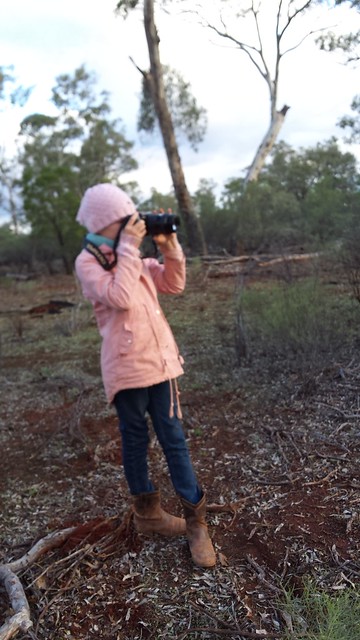
Taking pictures with my biggest girl - she's creative and inspiring and is diving into the world of photography with such passion, it's contagious!
20160510_163724
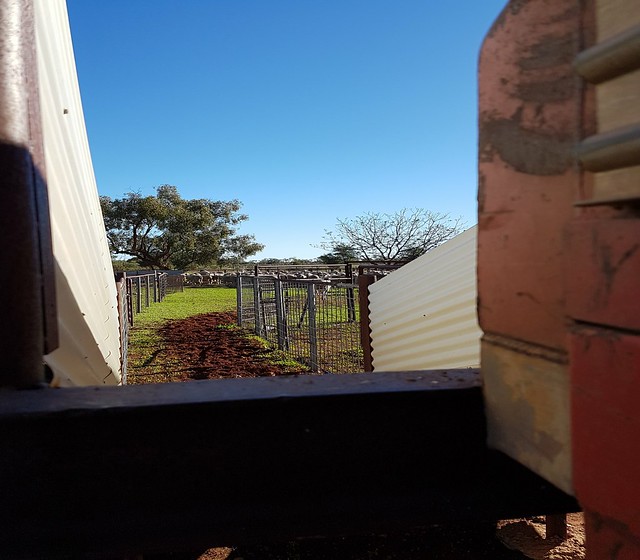
Sheep - newly purchased, waiting in our yards. Its been so long since we bought new stock but thanks to some much needed rain at the start of the month we now have green pasture again and can increase our stocking capacity!
20160514_152227
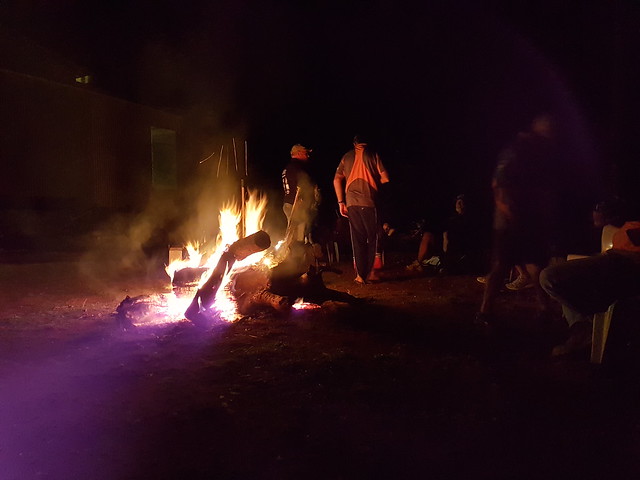
Bonfires - with new and old friends, sharing food and stories at the end of the day.
20160525_185532
I hope that you're taking some time to reflect on the things that make you smile too?
 
Happy Friday Friends! x

Friday, May 6, 2016

Sourdough.... my beginnings

If you've been following me for a while than you'll know that I'm pretty new to the whole Sourdough thing. Back in September last year, I finally bit the bullet, so to speak, and started trying to create my very first Sourdough Starter. 

For those of you who have never made Sourdough before, but have always wanted to, you'll totally understand when I say that the simple process of starting this ancient art of bread baking is SO DARN DAUNTING!!! After many, and I mean MANY, an hour surfing the net and browsing through numerous cookbooks I just couldn't find an exact, easy way to start a 'starter'. It was all so complicated to this newbie and I didn't seem to have the exact components/ingredients that most recipes needed. 

So, I just threw caution to the wind and grabbed an old plastic (yes plastic!) yoghurt container and mixed (with a metal spoon too, mind you - a big no, no in the Sourdough world) 1/4 cup of good old plain/white baking flour with 1/4 cup of rain water straight from my kitchen tap!

My mixture at first resembled a really thick pancake mixture, and smelt a little sweet. I popped the lid on sat it on my kitchen window sill and hoped for the best. 

Everyday I fed my starter in the morning with a heaped dessert spoon of plain/white flour and approx. the same amount of tap water, all the while giving it a good mix with a metal spoon. After about 4 days I could start to smell something quite funky, almost beer like, and I saw lots of bubbles forming in my pancake looking mixture - something was happening!
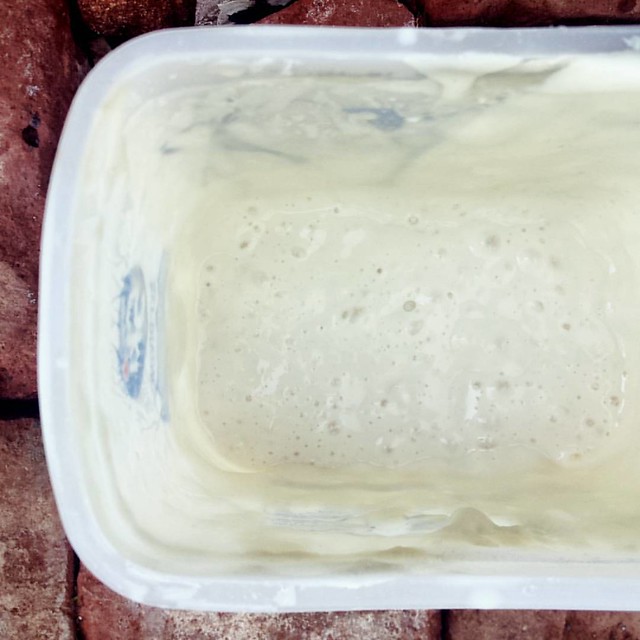
This bubbling mess is my Sourdough starter... It amazes me how 2 simple ingredients, flour and water, can create a natural levain for my bread, AMAZING!!!
A couple more days passed, and I kept on feeding my starter. It was about the 10th day and my container was getting a little on the full side, you see most starter recipes will ask for you to 'purge' half of your starter before every feed but to me that was just too wasteful so I just kept feeding my starter and after 10 days it got quite big!

So, I decided it was time to test it, purge some of it in the process, and bake something sweet. I poured 1 cup of my starter into this recipe (not fed like the recipe asked for, just simply purged) and what do you know - it made the most amazing chocolate cake that my family and I have ever tasted!
 
I was hooked after my first baking success and couldn't wait to bake again! As I waited for my starter to build up her strength to bake actual bread I started purging my excess and baking all sorts of delicious treats - herby crackers,
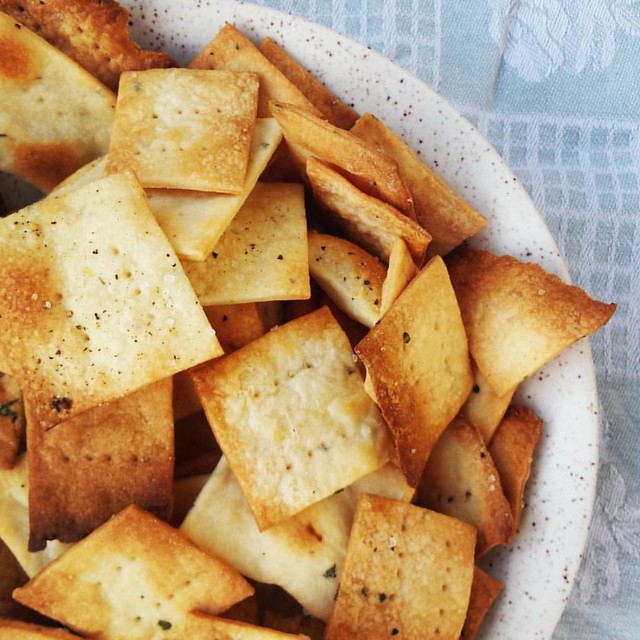
Sourdough Crackers with Sea Salt, Rosemary and Thyme.... First time I've ever made a savoury cracker and they're absolutely delicious!!!!!!
fluffy pancakes, simple cookies, cakes, and even raspberry muffins. My sourdough starter was my new toy and I had to play with it every day! I loved how it turned a humble recipe into something amazing and all the while breaking down the stuff in regular white flour so that our bodies could digest it just that little bit easier - Sourdough truly is amazing!
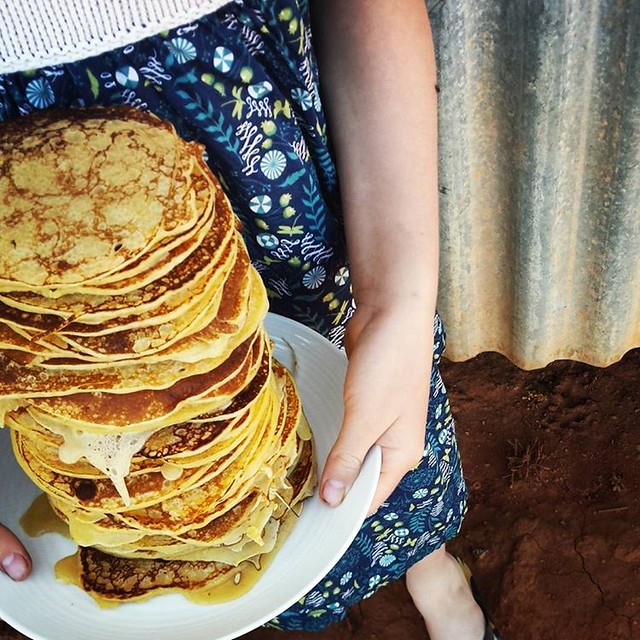
Sourdough pancakes for breaky - I sure do love school holidays!!!! ♥
Now, 8 months later and as a family we haven't look back! Everyday (well almost) we bake Sourdough. The process of slowing down and creating such a beautiful, rustic loaf that's carved and shared as a family with a meal or as a snack is something that I truly do love.

I've baked bread for as long as I can remember and have always added oils, and processed yeasts, and sugars, and bread improvers but with Sourdough all it takes is 3 simple ingredients, flour water and a little salt - flour which I buy in bulk from a local mill, and water which I harvest in tanks when it rains. I love that while things are tight, financially, for our family as we wait for decent rains and feed to grow again in our paddocks to feed livestock, I can create a large loaf of bread like this for as little as 50c.
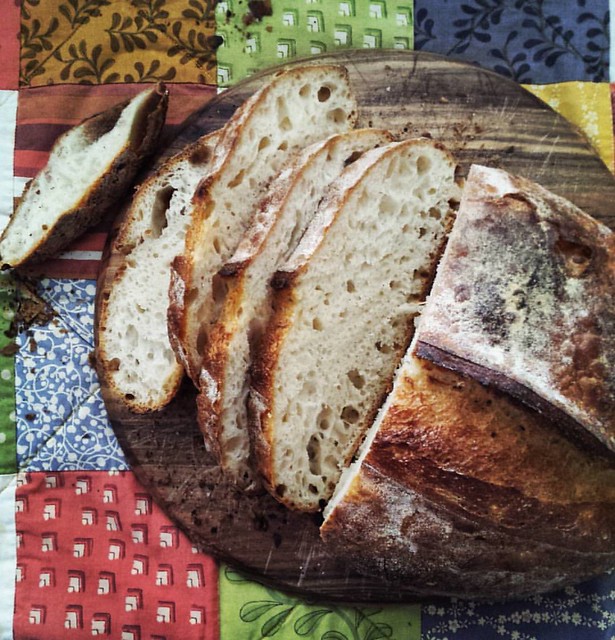
This loaf was pushed to its limits when I bulk fermented it for 5 DAYS! It still baked up beautifully this morning - Sourdough always amazes me,  and I love that!
So, are you a bread baker too? Have you ventured into the world of Sourdough baking yet or like I did, do you find it all to daunting and don't know where to start?

Friday, April 22, 2016

April....

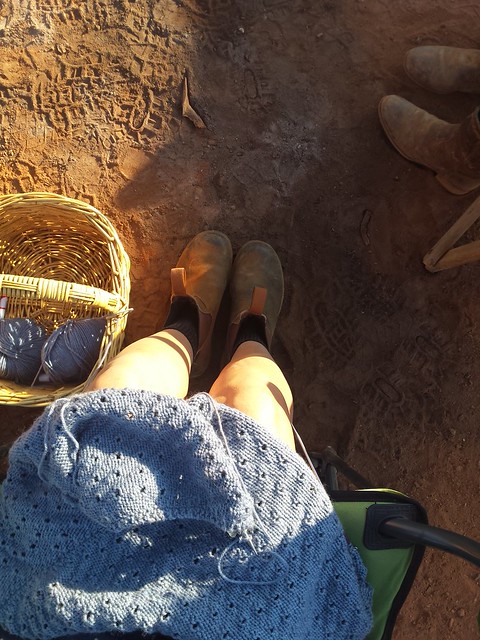
it's Knitting in the paddock,
IMG_20160413_080026
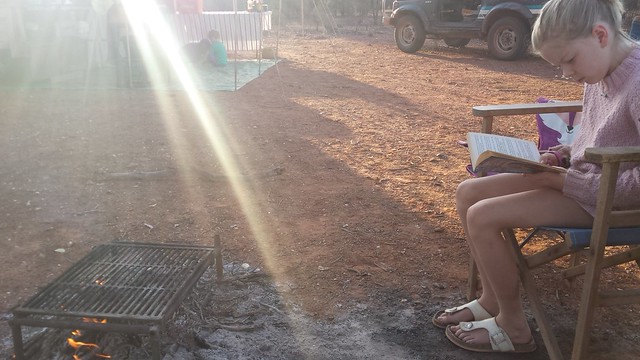
and reading books by the campfire,
20160410_071824
and enjoying {most} meals outdoors, cooked on a fire,
IMG_20160410_073246
and early morning starts with woollen jumpers, feeding stock and checking waters,
IMG_20160413_072656
and extra long cuddles with a very special dog, Sally!
IMG_20160413_075336
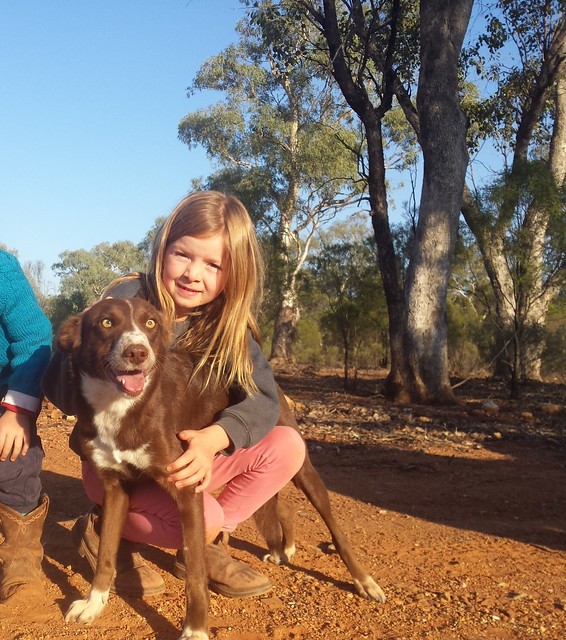
You see, a couple of months back Sally fell off the back of a motorbike while out mustering. Her back leg got caught up in the spokes of the rear wheel and it was horrific! Sally's very lucky to be alive, with all of her legs! So, this gorgeous dog is now my Millie's pet. They're the best of friends and Sally never has to work another day, ever.

Friday, April 1, 2016

A Shift in the Air...

As my Summer vegetables slowly start dying down, making way for our Winter crops to be planted, I can feel a shift in the air, it's been a long hard Summer and this shift could not come sooner... 
064
There's been long, hot days in the schoolroom,  
herb 4
a swimming carnival with our bush school friends,
20160212_142255
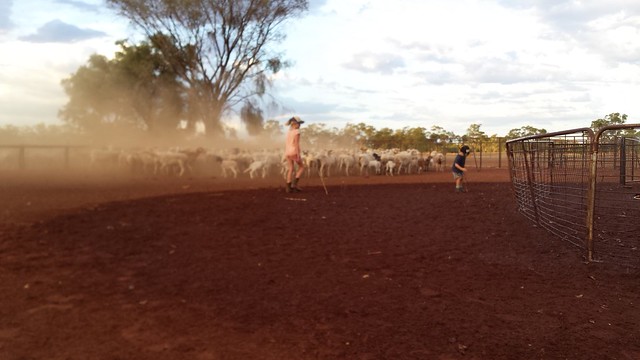
and dry, dusty days in the sheep yards while our farmer has been away.
20160305_191100
I've had some trying times with my eldest girl of late as her mind (and body) slowly transforms from a small girl to a young woman. As much as I'd like to hide from the obvious and keep my girl a wee little baby forever, the time for growth is important and I'm really trying to embrace this special time in my gorgeous girls life! Can she really be 'double digits' this year, already?
 
When I look back to when I was this age, my parents were newly divorced and conversations with my mother were almost non-existent. I understand now, as a mother and a wife, that this must have been a difficult time for her, but for me, I just remember feeling alone and embarrassed of my body and I'm going to try my hardest to make this time in my girls life one that she remembers fondly!   
068
With all of this said, we've had a pretty hard slog this past 3-4 months. We've had 4 really dry years here at 'Darling Downs', and are coming into our 5th as there's no good rain forecast on the horizon. So, for about 6 months now my husband has taken up work mustering on other stations to help bring in some extra money to pay our farm mortgage. This means that he's away for as long as 10 days at a time and I'm left to run the farm, school the kids, keep the home, and tend to the garden.
  014
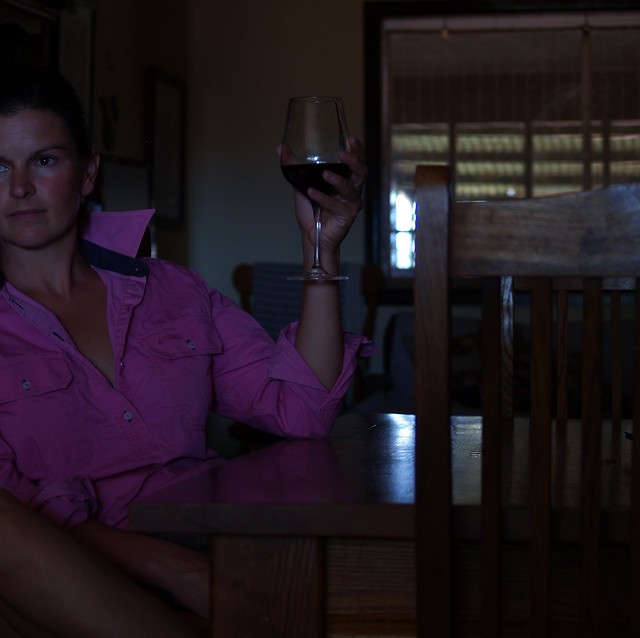
All jobs that I truly do love but when it's hot and you're tired and your husband is away and your kids are pushing all the wrong buttons you kinda get a little burnt out! So, a glass of red at the end of the day, just before the sun goes down, seems to be just what I need to put things into perspective!
155
And here's my perspective....I'm so lucky to live where I live and do what I do. I have a beautiful family and a loving husband. We're lucky that there is extra work available at the moment and that my husband is capable and able to do it. Although it hasn't rained I'm blessed to still have water to keep my kitchen garden alive and producing for my family. I'm lucky to have a home which is lovely and cool on the hottest of Summer days and toasty and warm on the coldest of Winter nights. And most importantly, I'm lucky that my husband comes home safely!!! He is such a hard working man who often pushes himself more than I sometimes think is even possible. I'm lucky to have 3 children who are kind, loving and caring in their own unique ways and a husband who truly does love us,    
20160213_185033
and who would give almost anything to be with us, yep just us, we're enough and he's enough, and we like it just like that!!!
009
So.... Are you feeling a little burnt out after a long dry, hot Summer, too??? Can you feel a shift in the air?

Spring Seed Swap?

I had big plans of sharing a late Winter garden update with you all this post, full of beautiful pictures of Wintry produce such as peas (...