Thursday, October 31, 2013

Made-By-Hand : : A Blanket cont....

I'm playing along with Christina's 'Made By Hand' meme again this week.... 

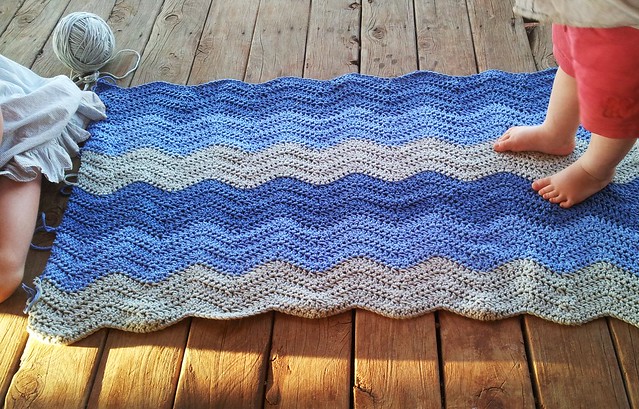
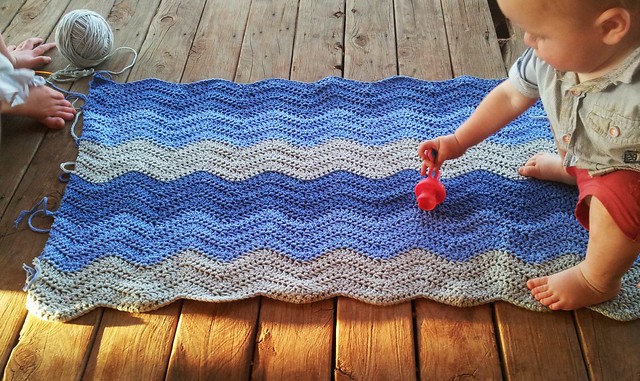
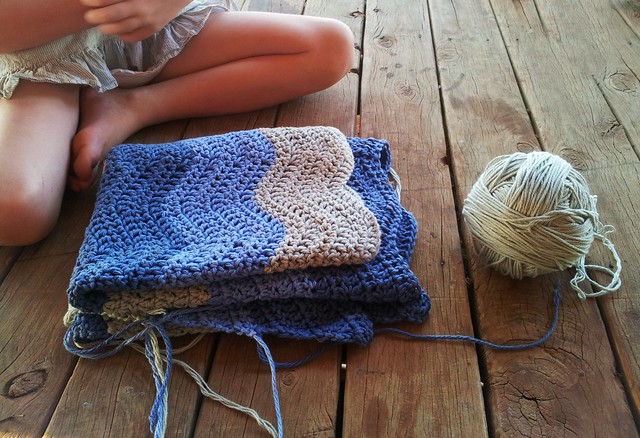
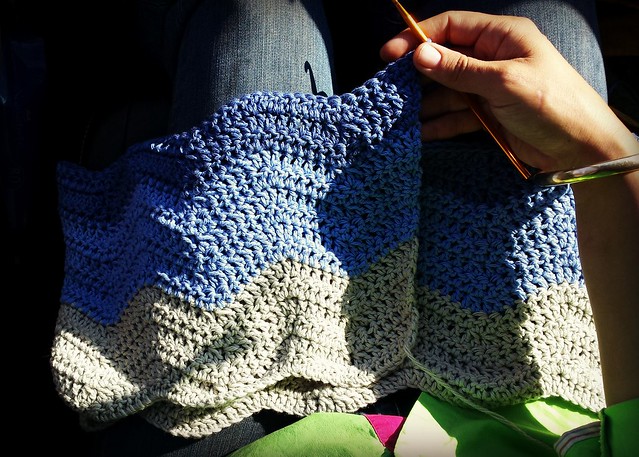
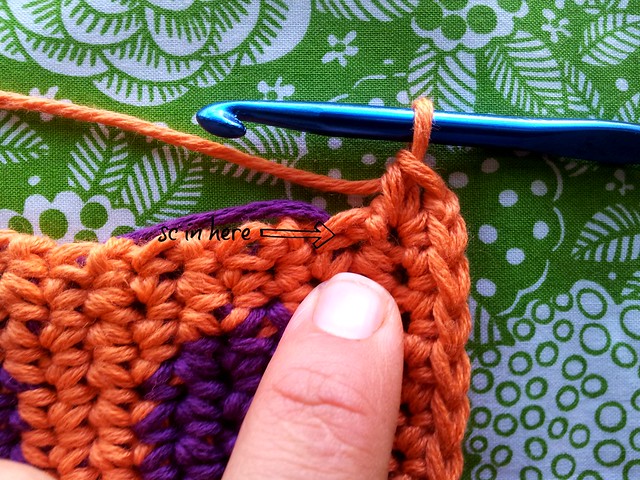
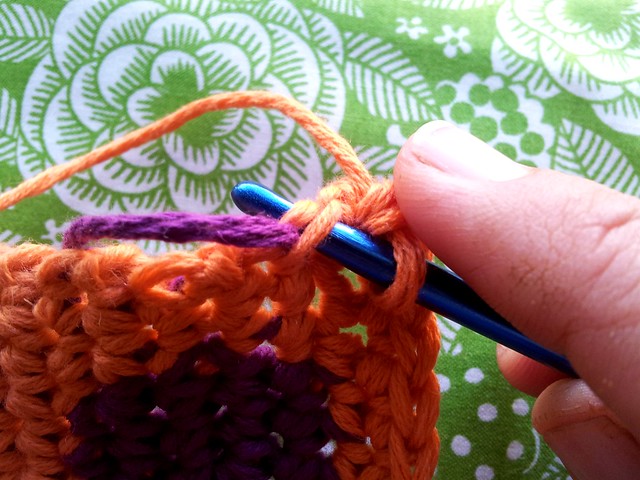
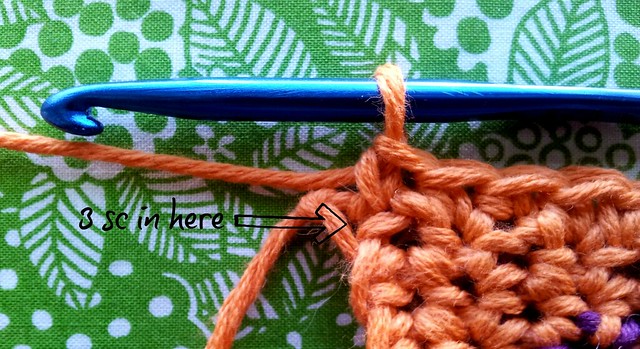
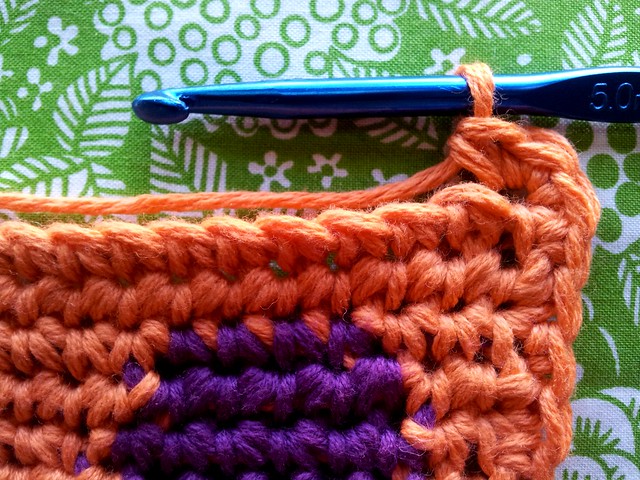
I've been slowly making progress on my Xmas blanket for Tobie....
blanket 2 
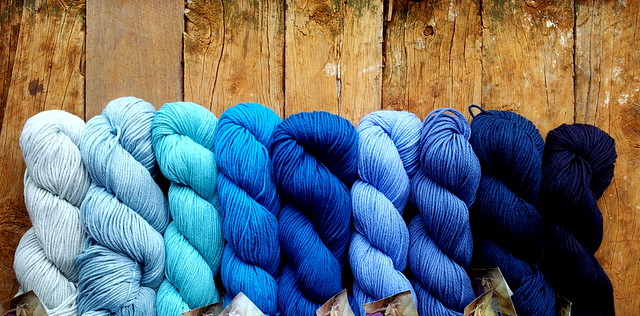
As much as I wanted to go with the ombre of blues I ended up sticking with my 3 original shades... 
blanket 1 
And love it all the same. This is such a great project to work on when I need to unwind - sitting on the front verandah, watching the world pass me by, with my kid-lids at (and around) my feet... 
blanket 3 
Tonight, I'm keeping the menu for dinner super easy - we're having 'fake-out'!! Hot Chips and Burgers... 

These are the best chips ever and so simple to make that I find myself whipping them up for my family at least once a week and they all love them, a lot!!!!

I peel (but you don't have to) and chop 3-4 large potatoes. I'm lucky enough to have some gorgeous spuds that I purchased at the latest 'Dubbo Farmer's Markets' in my pantry at the moment and they are simply dreamy and super creamy!!! But, any old spud will do! 

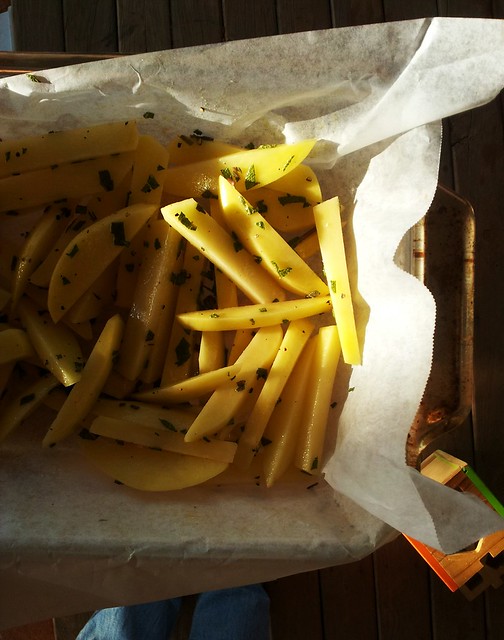
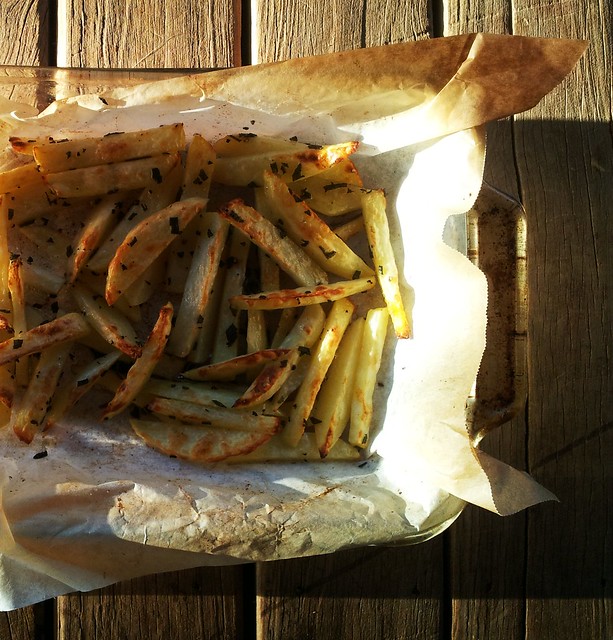
Line a dish with baking paper and add your chopped spuds. Drizzle over 2 tablespoons of olive oil, sprinkle on some salt and cracked pepper and add a small handful of freshly chopped Sage. Mix well and bake for 30mins in a hot oven - approx 220'C.
chips 1 
You'll end up with something that looks something like this...
chips 2 
The spuds end up super crunchy and the sage goes all crispy and yummy. These are super delicious by themselves or serve them with some salad and some protein and you're on to a winner...

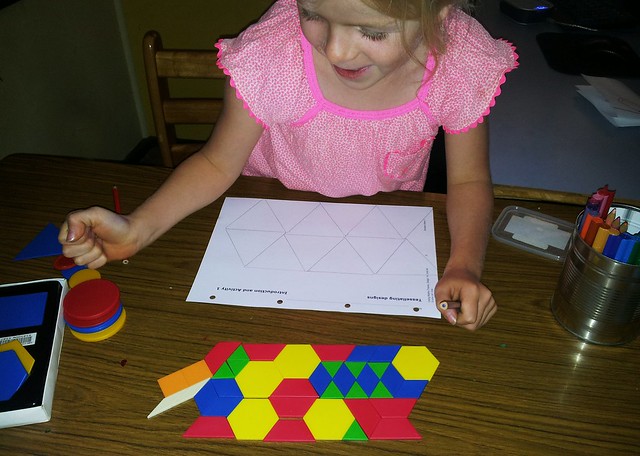
And just because - today in the schoolroom we worked on tessellating patterns and I'm totally loving my Connie girls interpretation of this unit....
school
Her creative mind blows my mind... 

So....

What are you crushing on at the moment?
Are you a fan of 'fake-out' or do you prefer to buy the real thing?
Are your kids blowing your mind at the moment also?

Sunday, October 27, 2013

Gardening Inspiration.....

I'm feeling super spoilt after a visit with a very inspiring friend on Friday while I was in town!

In exchange for a jar of sweet strawberry jam I was gifted..... Artichokes cut fresh from an amazing bush which is now in its 2nd year of growth and still producing prolifically... I'll be steaming the big one to eat tonight with some home made aioli and pickling the rest for later - YUM!!
friend 3
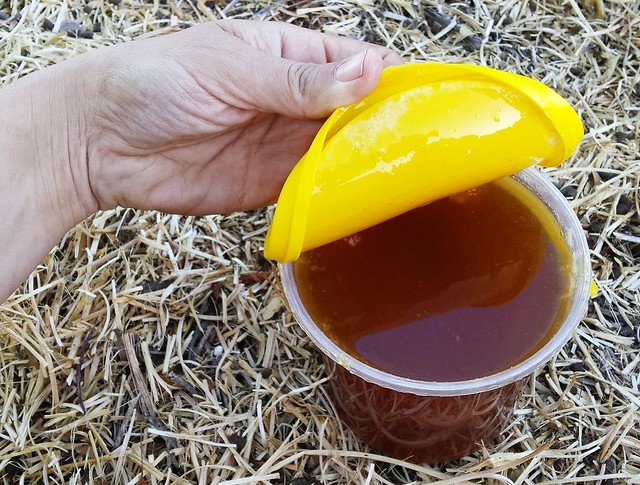
A big tub of home-grown honey. Yes, that's right, my friend has her own beehive in town in her backyard and it's amazing. Her garden produces oodles thanks to the bees helping with pollination and I'm now itching to get myself all set up with a hive of my very own.
friend 2
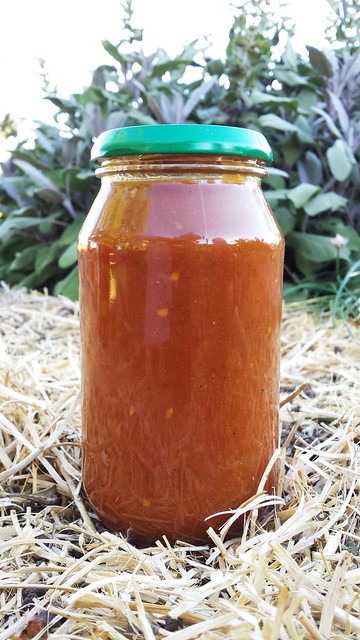
A big jar of the most delicious tasting home-made tomato relish I've had in a long time...
friend 1
And a big box of hand-me-down toys for my littlest guy - they've been played with non stop since we got home on Friday afternoon, I love hand-me-downs!

Thanks Ang, you and your amazing husband are a burst of gardening inspiration that I was in desperate need of and I can't wait to meet up again in a couple of weeks...


So.... Do you grow artichoke? How do you like to eat them?

Do you get fresh, local honey where you are? Or, do you have a hive of your very own at your place too?

What preserving gifts have come your way of late??? I'd love to know...

Thursday, October 24, 2013

Made-By-Hand : : A Blanket

I'm playing along with Christina's 'Made By Hand' meme tonight...

Tonight I'm working on a ripple for my littlest, Tobie (1 next month), for Xmas. 
road trip 2 
I'm making it using Cascade Sierra (80%cotton/20%wool), a 5mm hook and Lucy from Attic 24's super easy pattern - tutorial here. I was originally only going to use 3 shades but now that I've started am thinking that an ombre of blues would be much more fun... 
sierra 5 (2)
What do you think???

HORRIBLE!!! (and a 'winner' too)

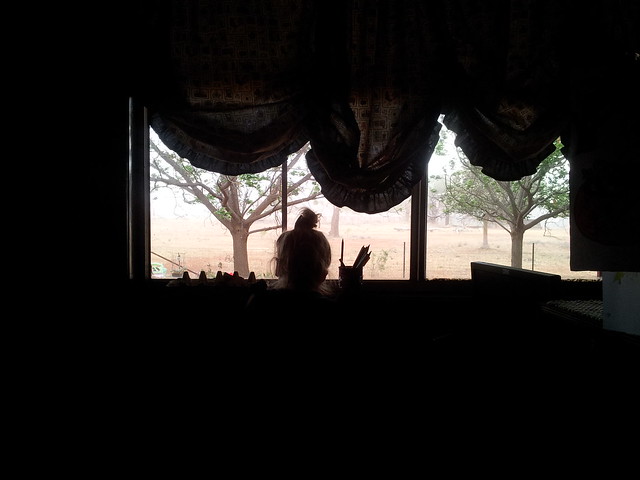
The view from our schoolroom window yesterday was HORRIBLE!!! There was dust and wind and all manner of things YUCK happening out there that made for a good excuse to be inside for a change - that's my Connie girl peering out the window...
dust storm 
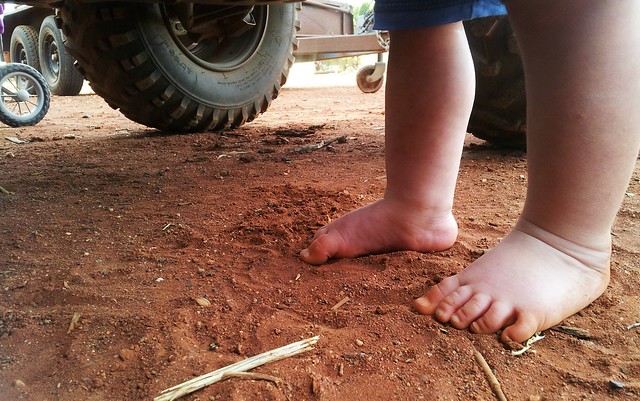
But thankfully by the end of the day the wind had stopped and the dust had dropped and we were able to get out and enjoy a few of the things we love... Playing in the dirt and tending to the girls (our chooks) and counting all the new baby calves (yes, we have loads of them 'dropping' at the moment - more on that later) and poking about in the garden and dotting on baby kittens, I could go on and on....
tobie 
And a bike ride to finish off the day was just perfect...
mail 2
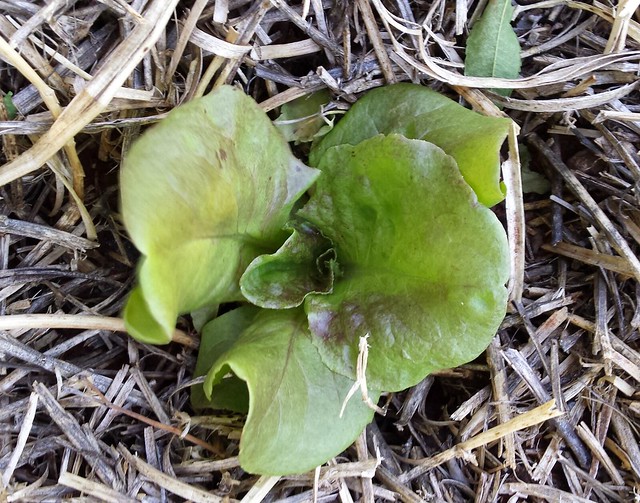
Today in my garden I'm noticing how much these gorgeous 'brown mignonette' (I think that's right) lettuce have been growing... These seeds were saved from a friends garden years ago and are a real delight to see popping up in mine this year.
lettuce
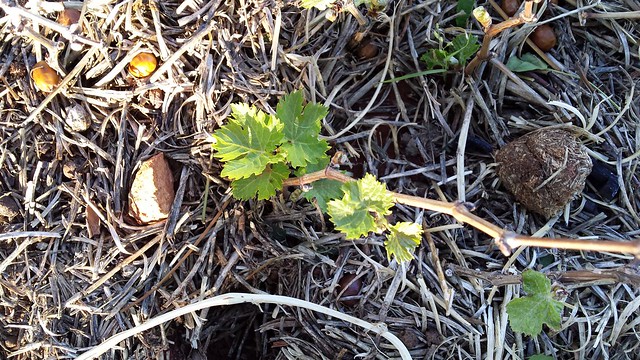
And I'm super excited that my heirloom grape vine cuttings are finally getting some legs!
grapes 
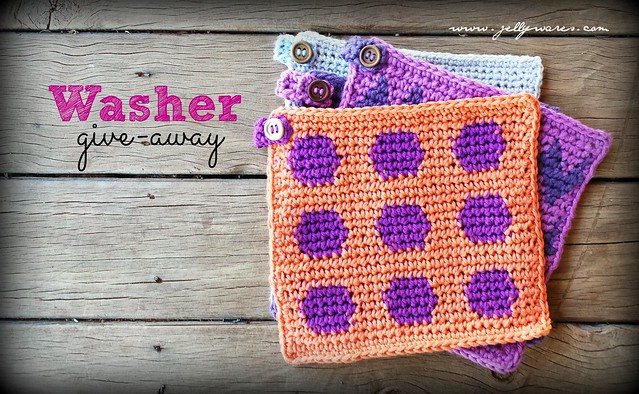
Last, but not least, the WINNER of the little give-away I was running last week is Tracy from Sunny Corner Farm....
give-away 1
Can you please email me your address Tracy and I'll pop your favourite 'Dotty' washers in the post tomorrow when I'm in town... :)

Monday, October 21, 2013

up to my elbows...

The end of last week saw me pack my little family up and head down the road for a quick road trip... We travelled a whopping 846km in less than 24hrs, on a mission collecting supplies for the farm - we had hay and steel and chook feed and thankfully after a stop in at a gorgeous nursery some olive trees! I've been itching to start an olive grove of my very own and now I am 3 trees closer to that dream (not many I know but it's a start, right?)...
road trip
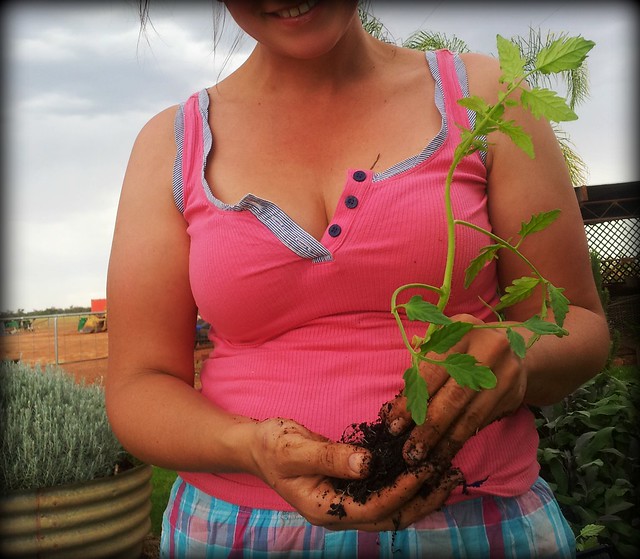
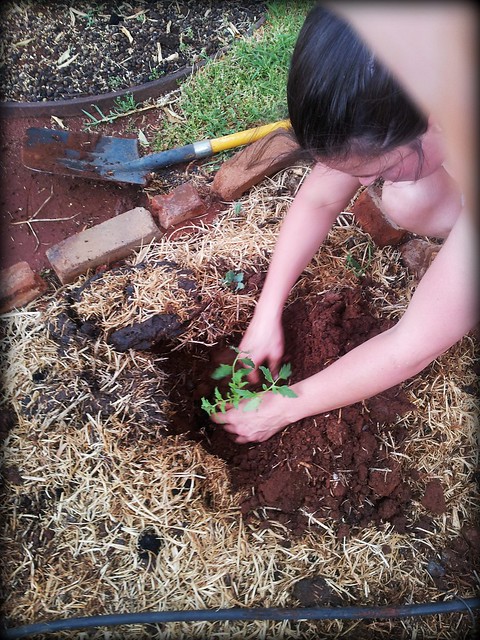
Today, after being cooped up in the schoolroom for far too long, I hit the yard with my 3 kid-lids, determined (and excited), to plant my overgrown tomato plants which I've been growing from seeds for what feels like FOREVER!!!garden 2 
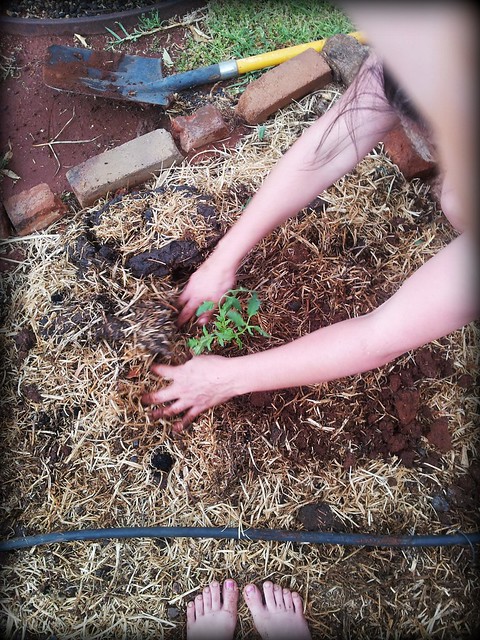
It felt so good to get up to my elbows in this rich soil... I like to scatter my vegetable patch throughout my garden and have approx 20 different beds on the go at one time. I do tend to spell certain beds at different times of the year though, and this particular garden bed has been empty since March - all that's been added is loads of manure and home-made mulch...
garden 3 
And yes, that's a HUGE cow pad right there next to my hand - simply gorgeous garden food!!!
garden 4 
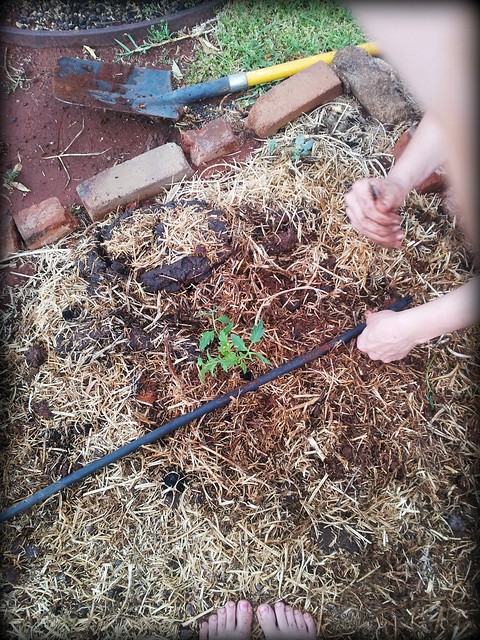
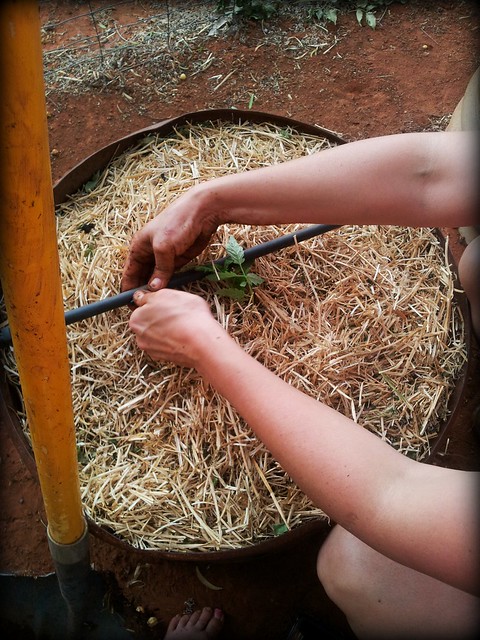
Do you irrigate your veg?? I've found that drip irrigators seem to be the most efficient in my garden and I simply move them around from bed to bed as I need them - they're super cheap too... What works for you?
garden 5 
I have oodles and oodles of old galvanised rain water tanks in numerous sizes and this past week has seen me cutting some of the smaller ones up to make 8 of these little garden beds...
garden 6 
Today I added some tomatoes and next week I'm planning to scatter some basil plants (grown from seeds) round the outside too...
garden 7 
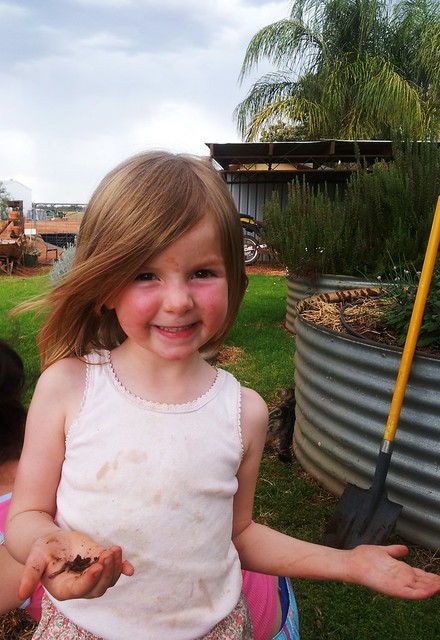
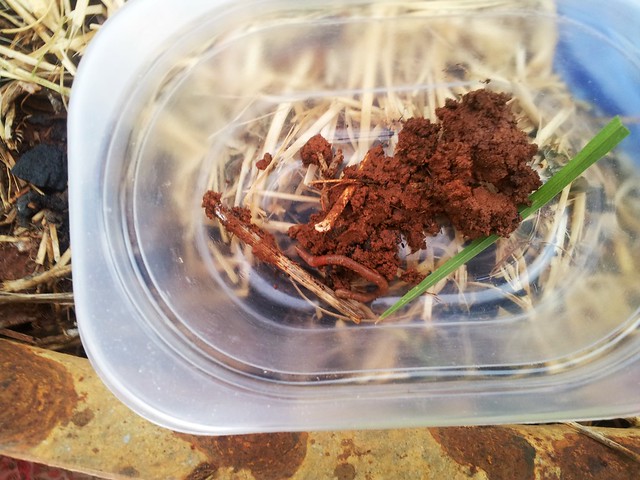
One thing my Miss Millie loves more than butterflies would have to be worms...
garden 1
Yes, that's right, she loves WORMS! Every time we're out in the garden she can't help but get something to dig with and off she goes, collecting so to speak... 
garden 8 
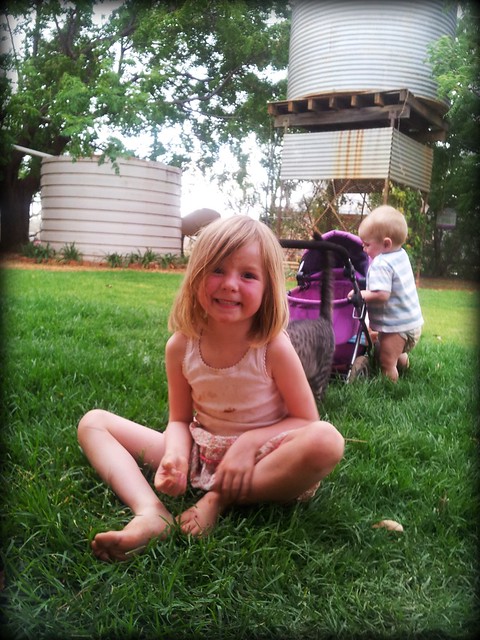
And when she's through with that she plays on the grass with her cats...
garden 9 
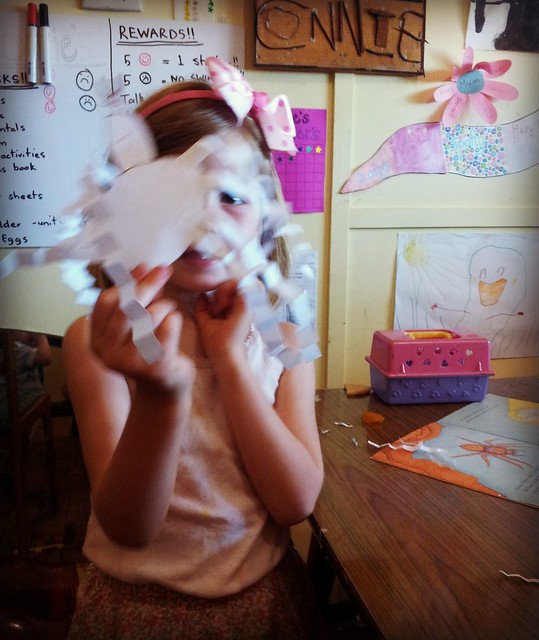
And although this gorgeous girl of mine just loves to be out doors exploring her environment she also simply loves school and today she couldn't get enough of her 'spider' craft from the book 'Hide, Spider'...
school 1 
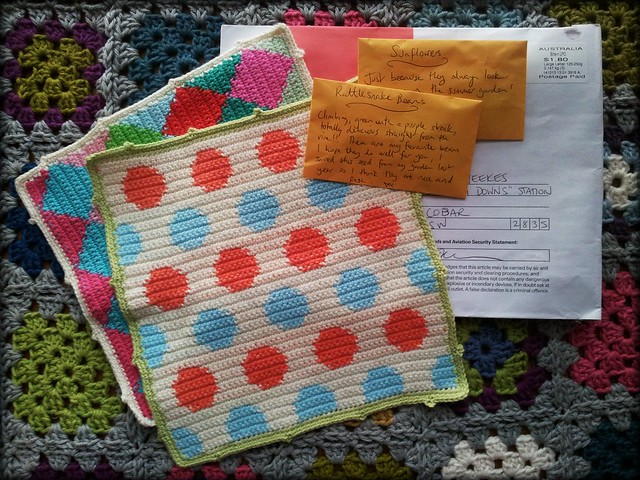
Lastly, I hosted a little 'Spring Washer Swap' here on my blog back at the start of the month and today I was lucky enough to receive my parcel from Jules...
swap 1
I was super spoilt with 2 washers and 2 packets of seeds and can't wait to use them all!!! Thanks Jules!!

Wednesday, October 16, 2013

It's GIVE-AWAY Time.....

I've been on the washer making band-wagon for almost a month now and thought it was high time I shared the love.. So, who's up for a Give-Away??? 
give-away 2 
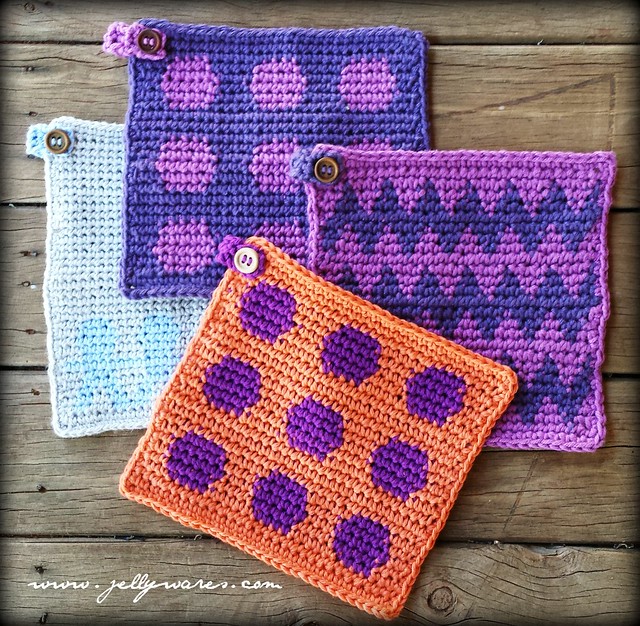
I'm offering up any 2 of the pictured 'Tapestry Crochet' washers. They are all made from 100% cotton, except the orange one in the front which is a cotton blend....
give-away 3
If you'd like two of these washers to make their way to your home simply comment below letting me know your favourite's...

Do you like to use handmade washers at your place, what's your favourite size? Do you like them knitted, crochet, fabric or a combination of all 3... 

Or, maybe you've never used them before - I'd love to hear about that too... 

I'll draw the winner next Wednesday, so you have 1 week to enter... 

Tuesday, October 15, 2013

Peas in a Pod??? - and a washer too...

This year my girls have taken a real liking to helping grow some of what we eat here on the farm... They have been growing beetroot, tomatoes, carrots, radish, lettuce, snow peas and peas in the pod.

By far their favourite plant over the past couple of months would have to be the common 'Pea'... 
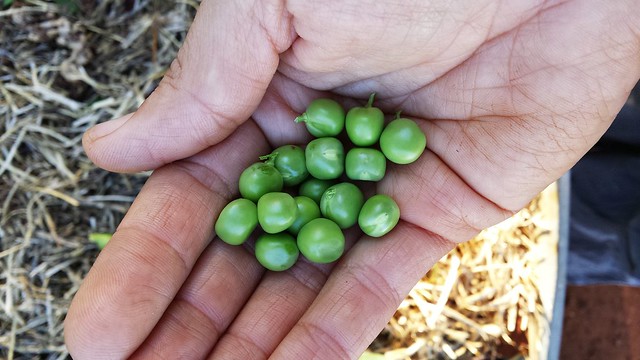
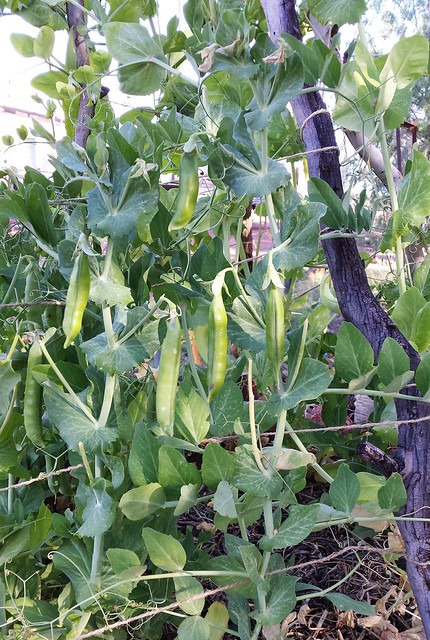
There's just something about it - don't you think?? From a shrivelled up looking piece of nothing pushed down into the earth as a seed it literally shoots overnight, emerging full of life, and before your eyes an amazing structure of a plant towers up towards the sky with a flower show along its way. Then, just like magic, those gorgeous flowers turn into teeny, tiny, little pods that get fuller and fuller and fuller until suddenly (so it seems) bite sized treasures are found hiding inside...
peas 3 peas 2 
I love growing 'peas in the pod' - have you ever grown them?? Traditionally they are a cooler climate vegetable (so I've been told) but here where I live I'm lucky enough to buck the trend and be able to grow them right up til (and sometimes through) Summer.
peas 1 
Do you grow things in your garden at times you 'shouldn't'?? Or, are you more likely to stick to 'guidelines'??
Do your kids like to get involved with what you grow too?


If you follow this blog then you'll know that I love me a good Swap, am passionate about gardening and I just can't get enough hand-made washers in my life - right!!! - Well, combine these 3 things and you've got a Spring Washer Swap!!! 

Here's what I sent out to my secret partner yesterday afternoon (her name has been blurred out - it is a secret swap, remember... LOL). 
spring swap
2 packets of seeds (tomato and pea), both of which have been saved from my garden, and a bright Spring coloured washer using Cascade Sierra in the 'Tangerine' shade and the Tulip Stitch pattern (a freebie for here)...

What have you been making today?? xx

Monday, October 14, 2013

Helping Out Pop...

I just love me some hand-made goodies - don't you??? 

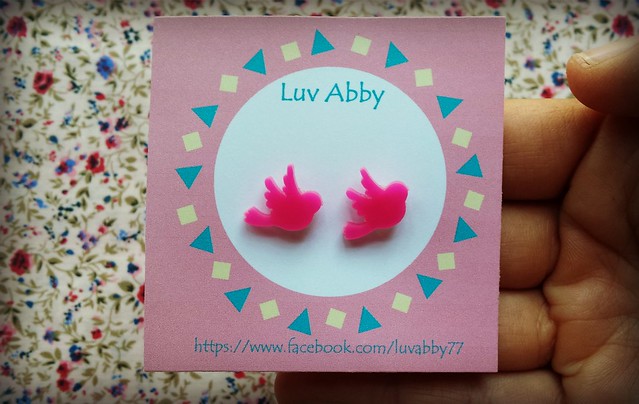
My latest purchase is from a Facebook Shop called 'Luv Abby'. I'm totally crushing big time on this Shop at the moment. You see, this Shop is a little special to me - it's the brain child of my big sister Abby (hence the name) and about a month ago she branched out from her usual handmade yarn-y craftiness into making brooches, earrings, hair clips and the like.

These super cute little bird-y earrings where picked up for only $7.50!!!
local 3 
And I also got these teeny flower hair pins for my girls and they were only $5 a pack - great value hey??!!
local 
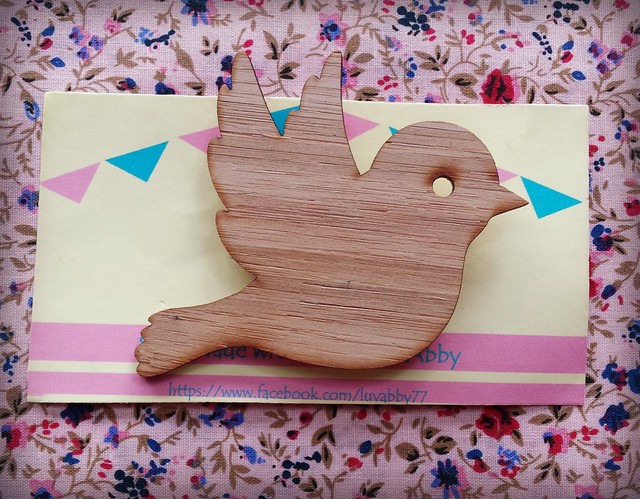
And then I couldn't go past grabbing myself one of these super cute GIANT 'burnt birds' for myself - it was only $15!!!!
local 2 
You can check out Abby's Shop here and if you do I'd love you to let me know what you think...

So, do you like to Shop for handmade goodies like me?? What's your favourite Shop?? Have you bought any off Facebook before? Where?? I'd love to hear ALL about them!!! :)

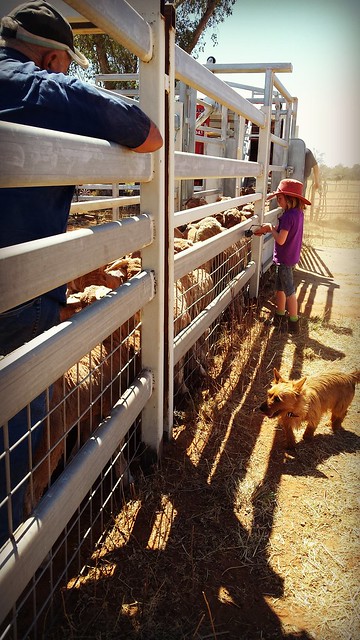
This weekend saw my girls head out for the day with my Dad to help out their Poppy with his sheep work... I was so proud when I went to pick them up, they had worked so hard... I sometimes forget that they are such independent young girls who can already stand their own so very well - they are only 5 and 7 you know... 
poppy 1
I could feel my chest puffing out with pride and tears welling in my eyes (but I chocked them back in) as I watched their Poppy kneel down at the end of the day to tell them how very proud of them he was - I don't think I could have been happier then I was that Saturday afternoon.

Sunday, October 13, 2013

Fairies and a SALE!!

It's hot, sticky, dusty, and blowing an absolute gale here at the moment so I've retreated inside for a few hours, excited to check out all my favourite blogs only to find that most of you must be busily enjoying the Spring weather as I had no new 'updates' in my Bloglines... So, I'll post my own Blog update instead... 

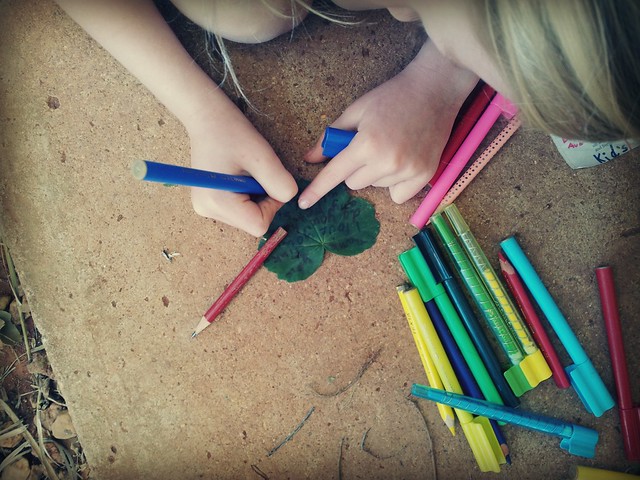
Both my girls simply love to doodle. They can doodle and doodle and doodle all day long, without a second thought to it. Lately their doodles have been turning into the letter writing kind. 
For as long as I can remember they've talked about fairies in the garden 'you know they paint the wings on the butterflies Mum and you see these flowers, the fairies put them their'. I just love it and could listen to them talk in this way   a l l    d a y    l o n g!fairy 1a
 Well, this special 'doodle' pictured is a letter for my eldest girls favourite fairy, a sweet little fairy that leaves teeny tiny treats scattered throughout our garden (*wink*wink*, you know it's really me right??) always making for hours of outside adventuring for both my girls... 
fairy 2b 
So, do you have little ones in your home and fairies in your garden too?? I'd love to share your stories with my girls if you do... :) 


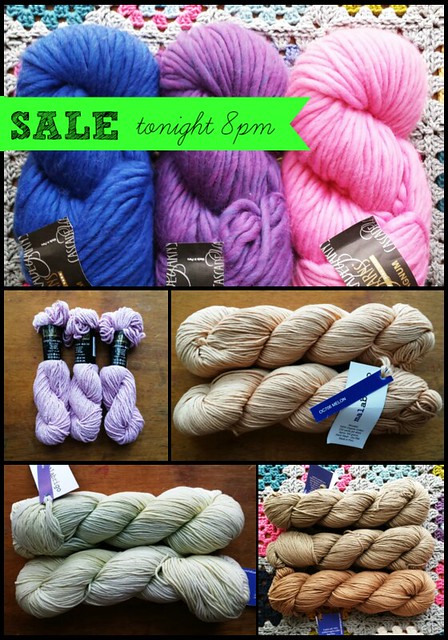
I try not to post too much about my 'lil ol' Shop' on my Blog as I like to keep this space for all the other 'stuff' that goes on in my life... But, tonight I'm having a SALE!!! It's over on my Facebook page and if you're a bargain hunter like and love to save a little money then be sure to check it out...
sale 2
I'll have Organic Cotton, Super-Bulky, Cotton blends for Washers and a few other goodies up on SALE tonight (at 8pm) and the more interest that I get from 'likes' and 'comments' the more I'll keep popping more up on SALE!!!

Enjoy the rest of your Sunday afternoon... *^_^*

Saturday, October 12, 2013

A Good Swap...

I love me a good Swap!!!!

Right from the get-go I get super excited about Swaps - I love finding out who my partner is, it's kinda like meeting a friend for the first time but you already know you have something in common, that always makes for an instant connection, right??! 
I love looking for the perfect pattern and then searching for just the right yarn to make it with. 
I love wrapping it up, picking out the perfect card and then posting it off - I'm always eager for the postman to deliver it ASAP!!!! 
I love hearing from my partner, imagining the smile on her face as they unwrapped my parcel for the first time - it's at this point that I totally forget that I too have a parcel making its way to me from someone, somewhere. 
I love collecting the mail and finding a plump little parcel waiting for me. My name is always handwritten on it in a way that tells me 'this must be from that Swap, it just must be'!!! 
I love tearing into my parcel, carefully of coarse, to reveal something that has been made by someone else's hands especially for me. 
And last but not least.... I love contacting my partner, full of excitement and appreciation, to thank them for taking the time to make me something as special and beautiful as they have...

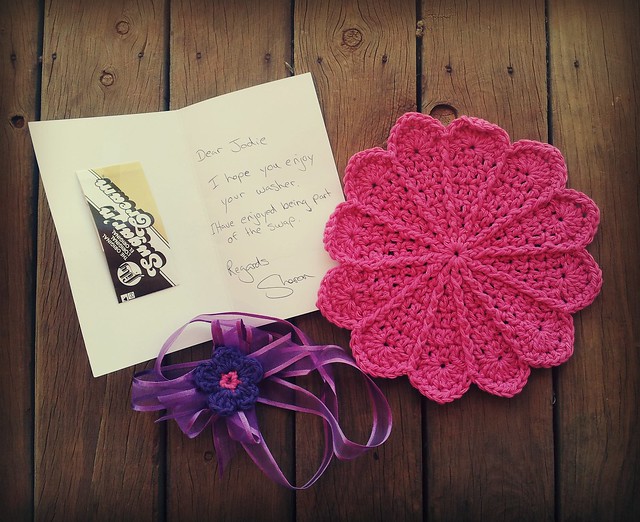
This past couple of weeks has seen me host a simple 'Washer Swap' over on my Facebook page for a small group of like minded women (10 to be exact). Last night (our bush mail-man comes late on a Friday arvo) I was lucky enough to receive my gorgeous parcel from my partner Sharon and what can I say - it's just PERFECT!!!!!
swap 3 
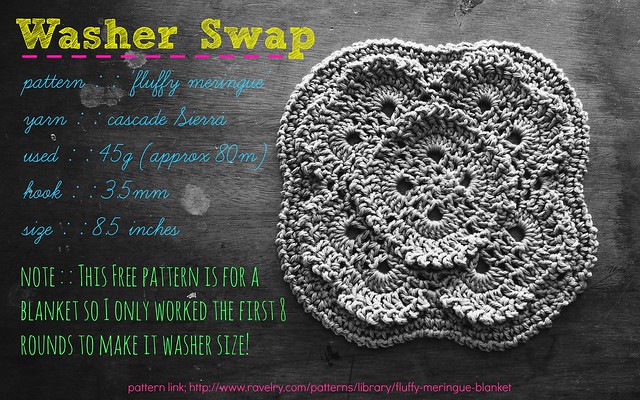
Here's the washer that I sent out to my partner (for those interested)... This was one of the most enjoyable things I've worked on in a long time and I'm so thrilled that my partner loved it too...
swap details
So, as you can see, I love everything about a good Swap, from the signing-up right down to the contact made with partners at the very end...

Do you like joining in with Swap's too??

What's your favourite part of a good Swap?


note : : don't forget that the deadline for posting out  for my 'Spring Washer Swap' is this coming Tuesday (for those who joined back here of-coarse).

Thursday, October 10, 2013

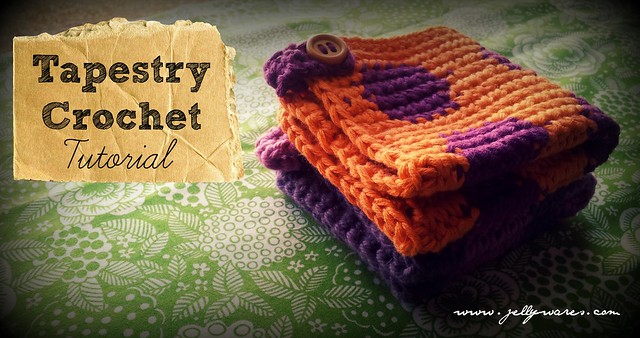
Tapestry Crochet Washer Tutorial!!

About a month back I stumbled across a crochet technique called 'tapestry crochet'. I didn't know much about it so I searched and I searched and I searched - looking for as much info as I could. There were a few YouTube videos and an american website offering some handy info but it all seemed rather complex too me. I persevered, practised my little heart out, and eventually I cracked it. To be honest - I always think crochet patterns look and sound far too complex, more than they actually need to be. So, I've put together a tutorial for a simple 'Tapestry Crochet Washer'

What I've done here is written my own pattern. I have to be clear about this for obvious copyright reasons - I have not copied this pattern from anywhere. It has been designed by my 7yr old daughter on graph paper (link here) and interpreted into the following tutorial by me.

O.K... Now that the technicalities are out of the way lets get started... :)
spots 34 
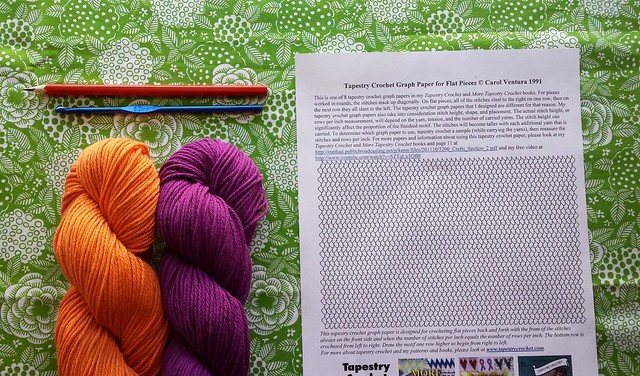
Grab yourself some supplies... I like to use worsted weight cotton for my washers and for this project I'm using Cascade Sierra (80% cotton 20% wool blend). Pick 2 shades that pop together, I've chosen Tangerine(orange) and Mulberry(purple)! You'll need a 5mm hook, a lead pencil, a print out of graph paper (link here), a darning needle and a button.
spots 1 
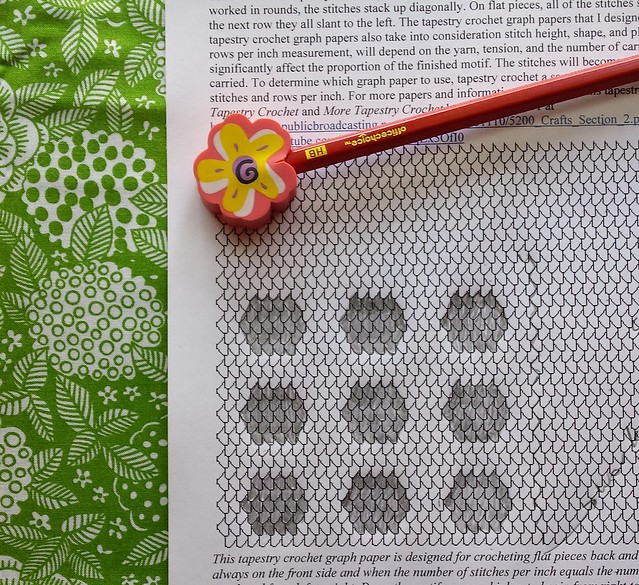
Let's sketch out a design.

When you crochet flat, turning your work for each row, you'll notice that ridges form in your work. To eliminate this I'll be working my washer back and forth - which means, when I get to the end of the first row (and all odd rows) I'll be swapping hands and working back across my work for the 2nd row (and all even rows) with my left hand. All this is done WITHOUT TURNING my work. This is a little tricky at first but after a few rows it gets easier and you won't feel like your crocheting with your thumbs - I promise... 

So, you've got your graph paper and a lead pencil, I also like to have an eraser handy because I'm bound to make a mistake. First work out how big you'd like your washer. I've found that 28 stitches makes a decent sized washer by the time you add a border - approx 7 inch square. 

Mark a line on your graph paper showing 28 stitches so you can visualise the area you have to create your design. You'll notice that with this graph paper each row is slightly angled - when you crochet your stitches will sit at an angle, this graph paper has been designed with this in mind. If you were to draw your design onto regular graph paper it would turn our slightly different. I have tried using both kinds of graph paper, regular and the one pictured below, and have found that my designs seem clearer when I use this paper (link here)...

I've copied the SPOT pattern that my 7yr old designed for you to use for this tutorial - now it's your turn to copy it onto your own graph paper (link here).

You'll be working your pattern from the bottom up. The first row on the graph paper is worked left to right (you can tell this by the way the stitches are angled). I want my pattern to start on a row that works from right to left so I've started my drawing on the 2nd row... 

Note : : I will be working 2 rows of single crochet before I start working my pattern. There is only 1 row pictured before the pattern starts - let's pretend it's actually 2!  
spots 2 
I'm going to use orange for the main colour and purple for the spots... 

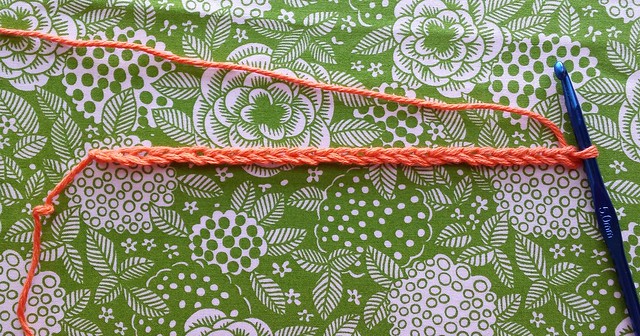
Lets get started!!! I like to use American Crochet Terms and this washer will be worked entirely in single crochet (sc). With your main colour and 5mm hook chain(ch) 29.
spots 3 
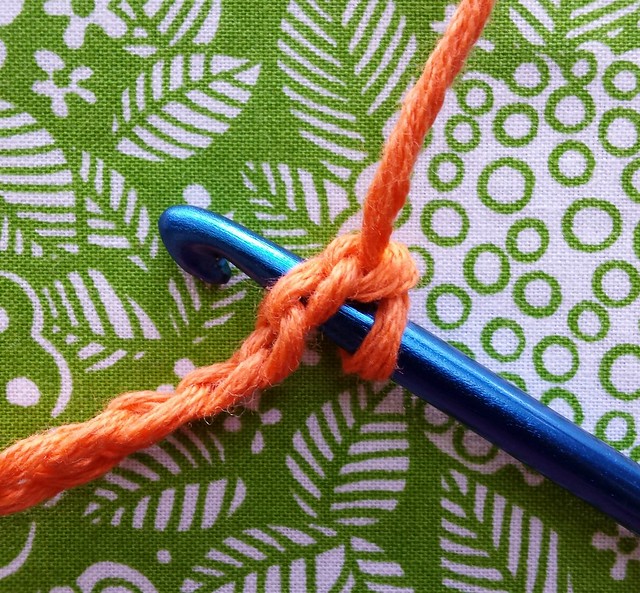
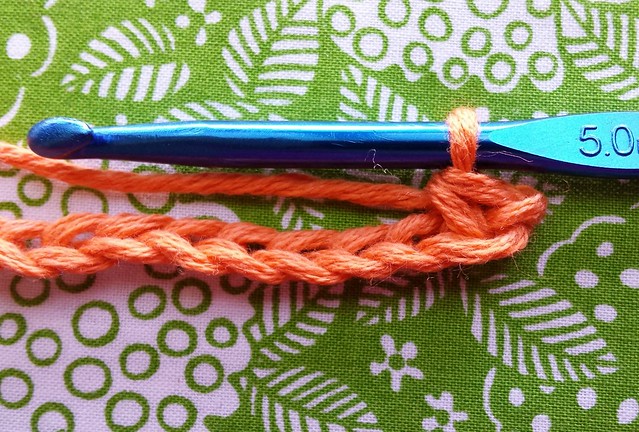
Row 1 - Into the 2nd ch from the hook you will be working 1 sc. Make sure that when you insert your hook into the chain that you are going under 2 strands of yarn like so.
spots 4 
When your first sc is complete it should look something like this. See how there's only 1 strand of yarn at the bottom the the sc? Great! Let's keep going...  
spots 5 
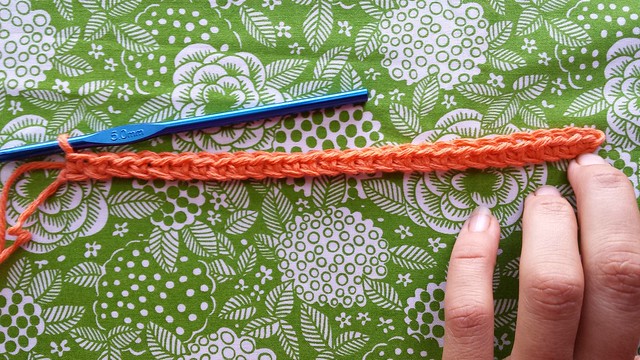
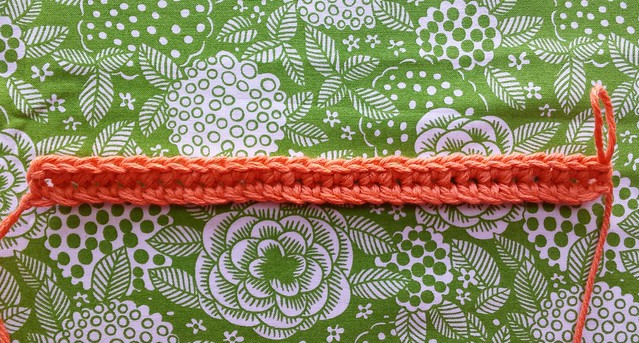
Now you're going to sc into each chain across. You should have 28 single crochet at the end of this row - Row 1 completed.
spots 6 
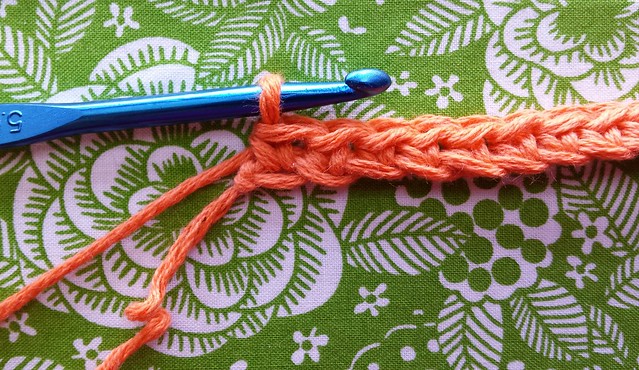
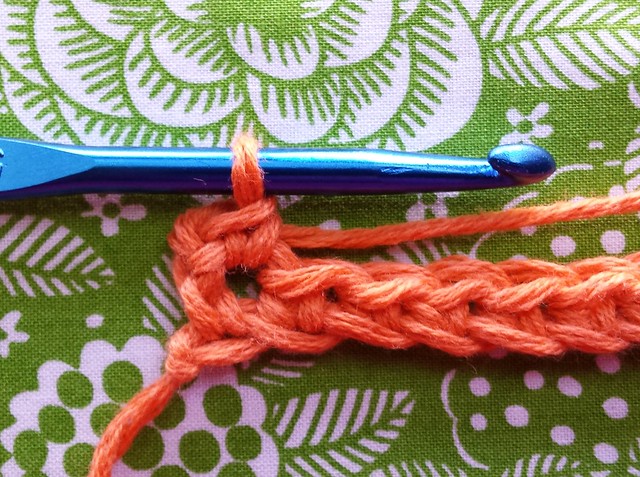
Row 2 - Take your hook out and insert it into the stitch from the opposite direction like so. You are now going to work row 2 from left to right, without turning your work, with your left hand.
spots 7 
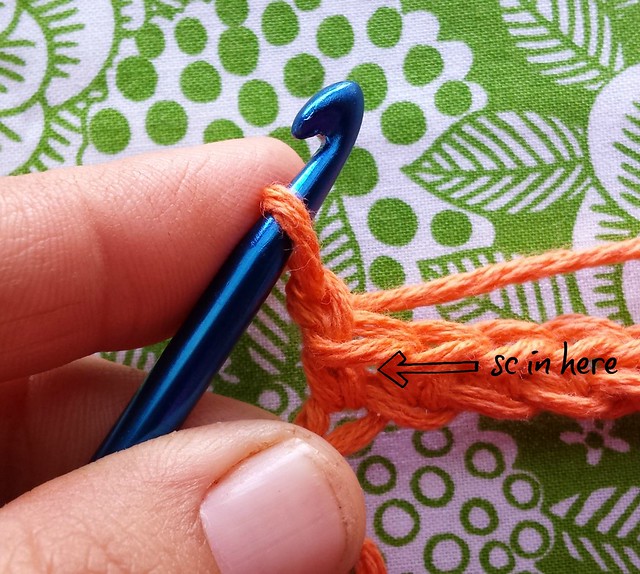
Chain 1 and sc into the top of the last sc worked in Row 1.
spots 8 
You now have something that looks like this... 
spots 9 
Work 1 sc in each stitch across, with your left hand, and when you get to the end change your hook around to work the next row as normal, from right to left. 
Note : : in the next row we will be introducing our pattern!!
spots 10 
Row 3 - ch1 and sc into the last sc from Row 2. You now need to look at your graph paper and the pattern you copied down. You are up to Row 3 (2nd row from the bottom because we added an imaginary row, remember) and it is worked from right to left so read the pattern that way too... 
spots 11 
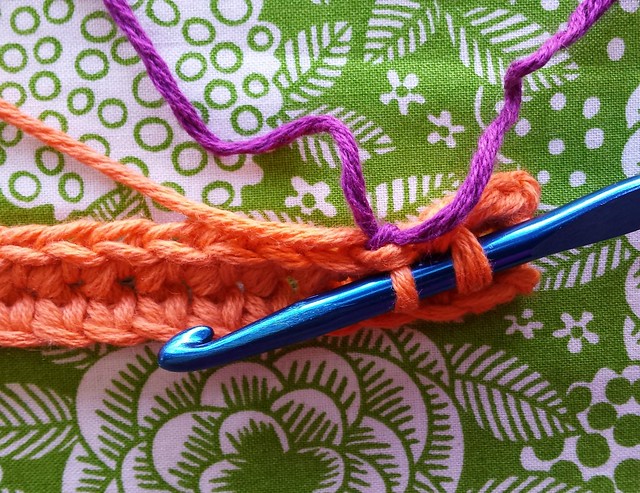
The pattern has 3 sc in the main colour and then changes to purple. Work 2 sc as normal but when you get to the 3rd sc you will need to finish it off by changing colours to set yourself up for the next sc (which is a purple one)...
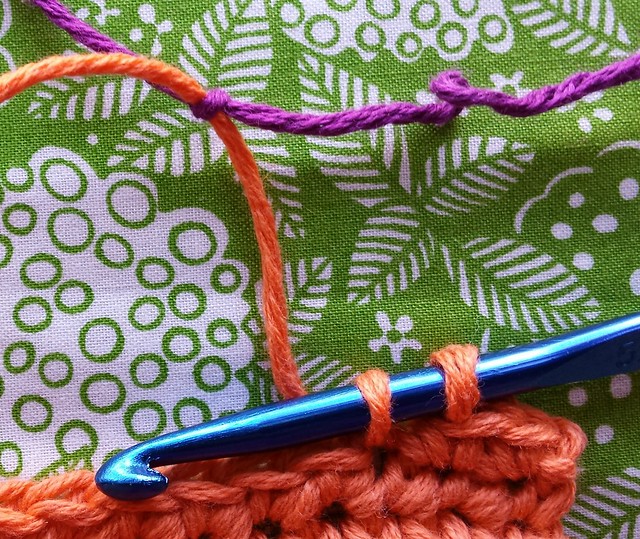
To change colours simply tie the purple yarn to the orange yarn - pictured below.
spots 12 
Then pull it up nice and close to the back of your work like so...
spots 13 
Now finish the 3rd orange sc by yarning over with the purple yarn and drawing through the 2 orange loops on your hook like so... You will now have 3 completed orange sc's and your new colour (purple) will be ready, waiting for you on your hook..
spots 14 
Here's a picture of it from the back. See the know sitting nice and snug up there near the stitch? Perfect!
spots 15 
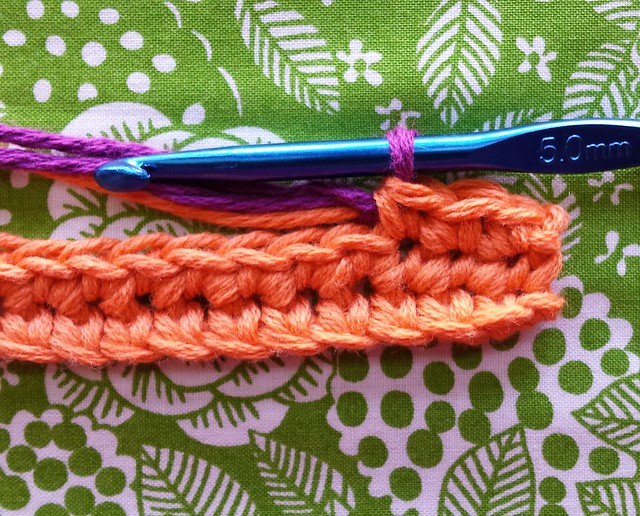
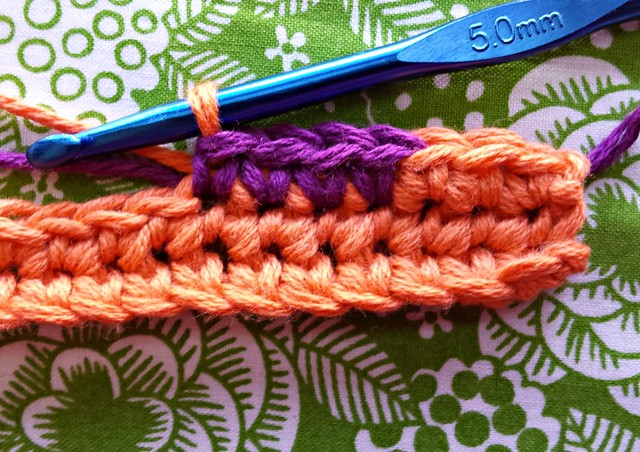
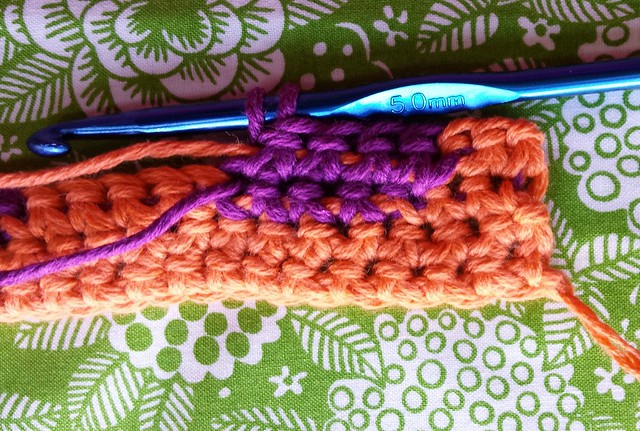
Next up we are going to work the 4 purple sc's for the first row of the pattern. You will be carrying your orange yarn along with you as you go, sandwiching it between the stitches of each sc worked in purple... To do this simply run the orange yarn along the top of the sc's from the previous row while you work the next 4 sc's (in purple).
spots 16 
Remember to yarn over and draw through with the orange yarn on the last sc in purple to change colour. After working your first lot of purple you should have something that looks like this. 
spots 17 
Continue on in this way for the remainder of this row, changing yarns as indicated on your pattern and making sure that you yarn over and draw up the next colour yarn on the first and last stitch of every colour change. All the while sandwiching the unused yarn between the working yarn sc's.

Hopefully your washer will look something like this after row 3.
spots 18 
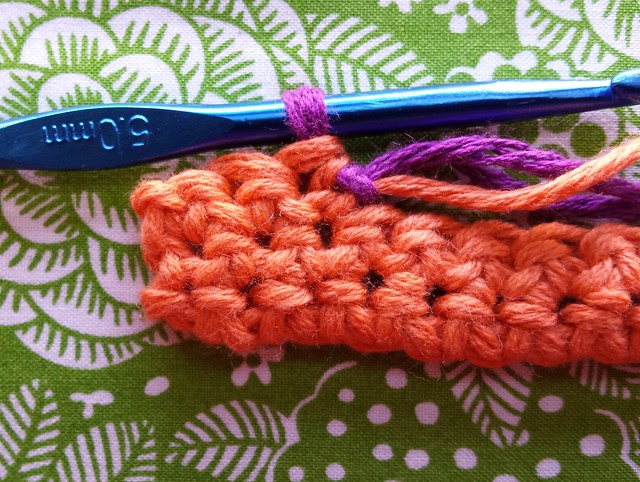
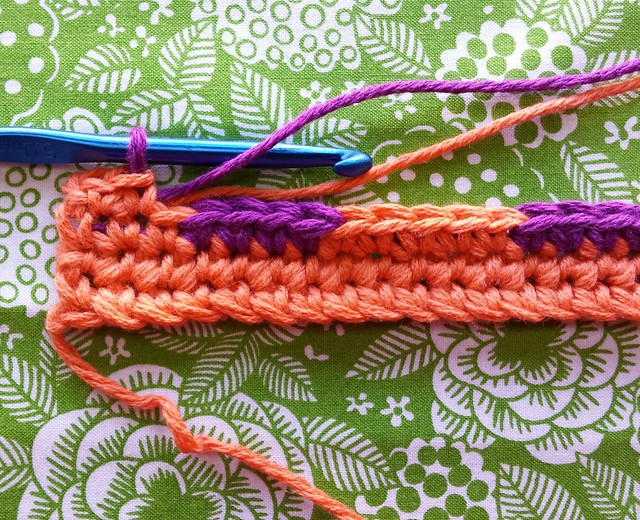
Row 4 - Now it's time to work back with your left hand. Following my pattern I need to work 2 sc in my main colour and then change to purple. So, continue sandwiching that purple yarn between your stitches and ch 1 and sc in the last 2 sc from Row 3 (remember to yo and draw up the purple yarn on the 2nd sc to change colour). Now work 5sc's in purple.
spots 19 
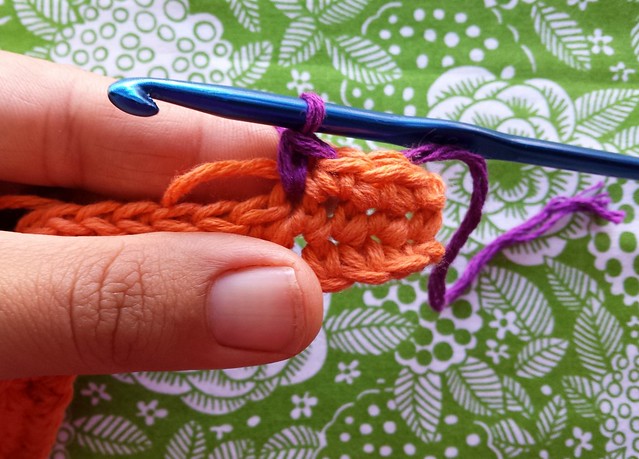
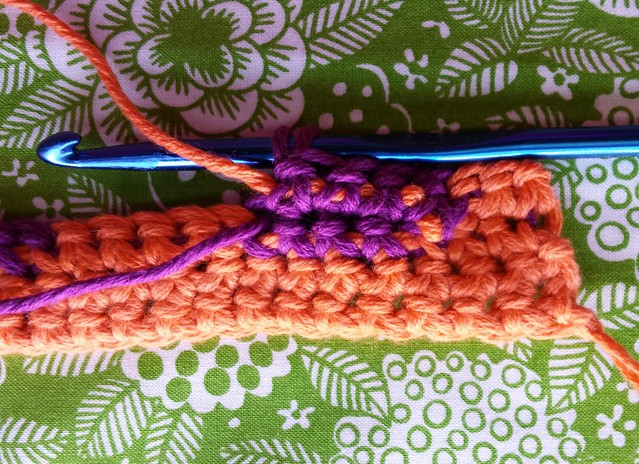
Sometimes on the rows I use my left hand to do I find that the yarn I'm sandwiching between the sc's gets a little loose.
spots 20 
Simply give it a slight pull before changing back to that colour to eliminate this problem. 
spots 21 
Work the remainder of this row and you should have something that looks like this - right??!!
spots 22 
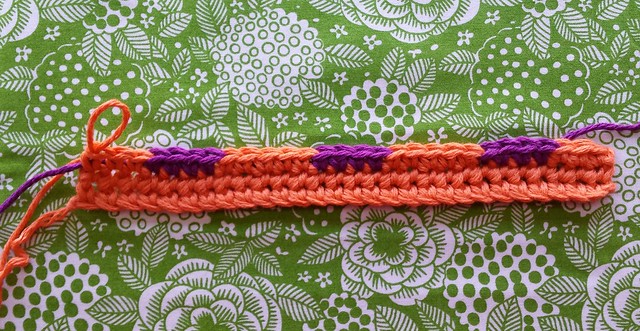
Continue working back and forth, left to right, sandwiching that unused yarn between your sc's as you go, and changing colours by yarning over and drawing up a loop at the start and end of every colour change.

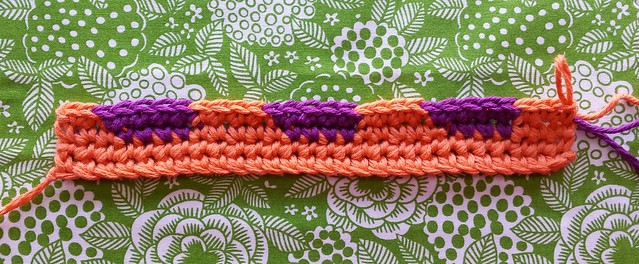
Here's a progress picture after the first group of spots have been completed... Can you see how when I work from right to left my stitches lean to the left and when I work from left to right they lean to the right?? That's why I like to use this graph paper (link here)! It has been designed with this in mind!!
spots 23 
Now that you've kinda got the idea let's keep going! 
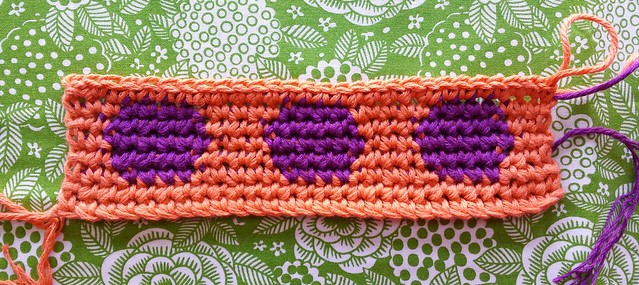
I worked 25 rows before starting a border and it looked like this. 
spots 24 
When you finish working the last row of your spot pattern you can cut your purple yarn and work the last 2 rows with just the orange yarn.

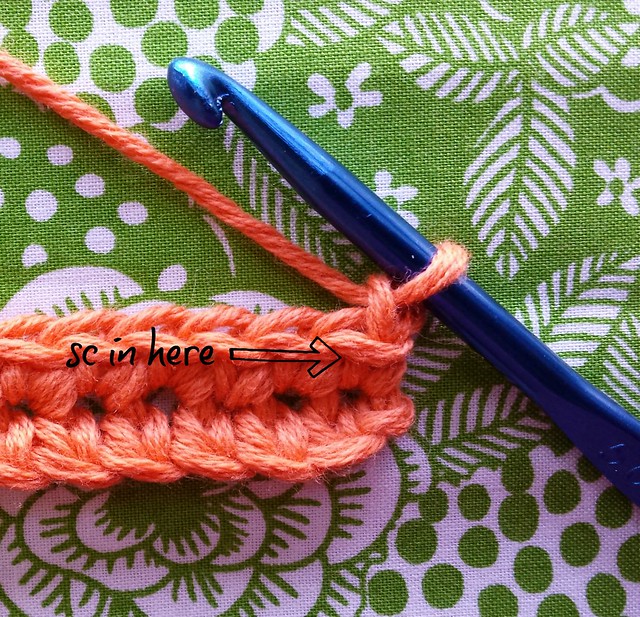
Now for the border - the easy part... Ch 1 and sc in the same space as your last sc from your last row. You will now sc in every row down the side of your washer starting here.
spots 25 
You want to make sure you insert your hook through 2 strands of yarn when working sc's down the edges - I just think it makes the finished washer look neater... Sc all the way down this edge.
spots 26 
You now need to sc along the bottom of your washer. To make a corner work 3 sc into the first ch loop.
spots 27 
Like so... 
spots 28
Now sc in each ch loop across. Work 3 sc into the last ch loop for the next corner then sc in each row up the other side.

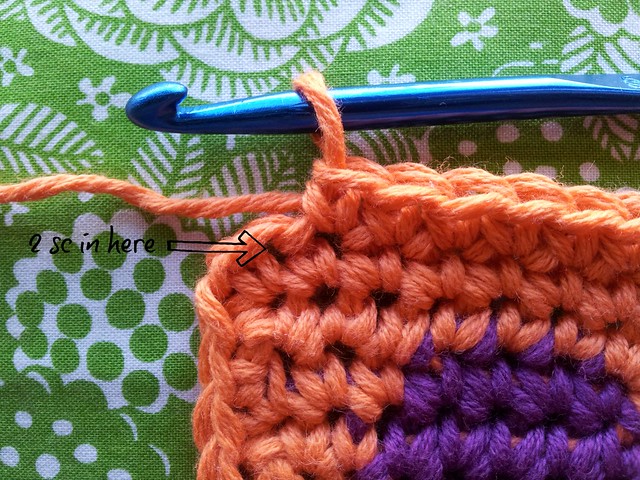
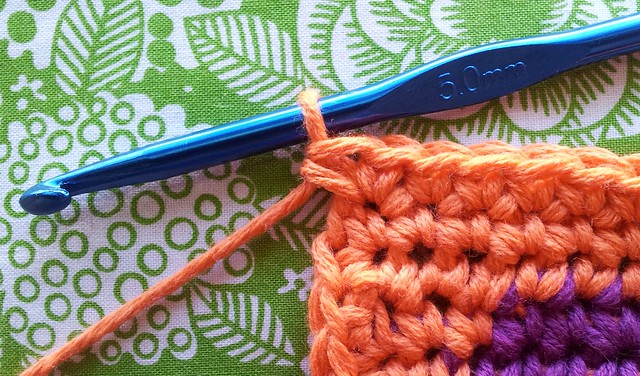
When you get back up to the top again, work 3 sc into the first sc and 1 sc in each sc across until you get to the last sc. Work 2 sc into the last sc.
spots 29 
Like so....
spots 30 
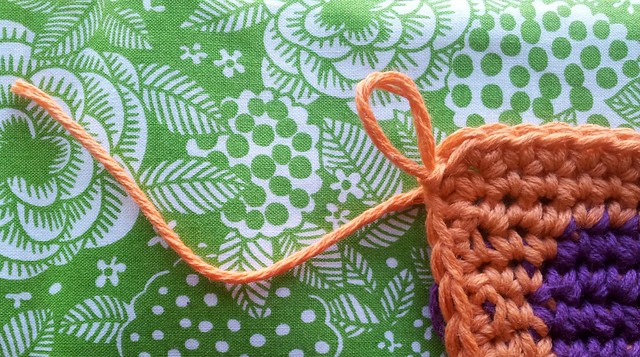
Now ch 1 and join with a slip stitch to your very first border sc...
spots 31 
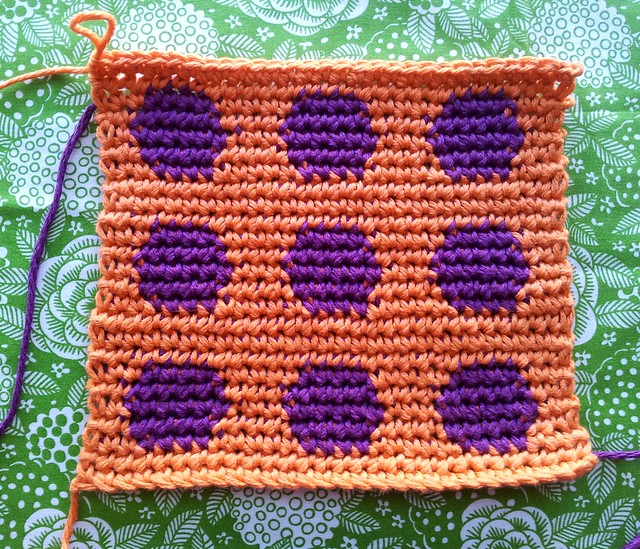
And here you have it 1 almost finished washer!!! YIPPEE!!!

Next, I like to add a tab and a button. To make a tab simply ch 3 and sc into the 2nd ch from the hook and the next ch too. 2 sc in total. 
Next Row - ch 1, sc in next 2 stitches. Repeat this row a total of 8 times and fasten off.
spots 32 
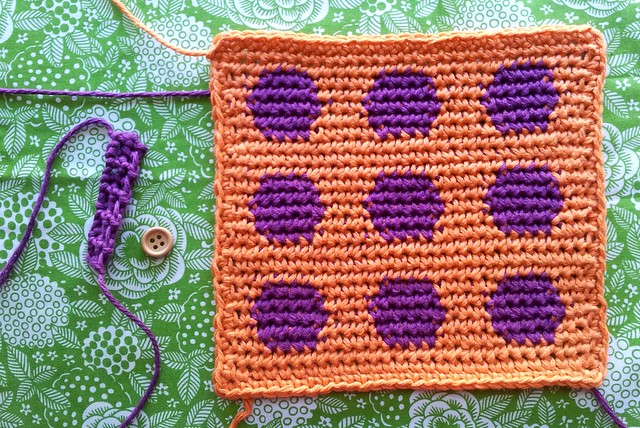
Sew your tab and button to the top corner of your washer and your all done...
spots 34
WOW - that was long winded... I hope you made it all the way to the end but most importantly I hope it all made sense and you're sitting there with 1 completed washer. If you're unsure about any of the steps in this tutorial PLEASE comment below and I'll do my darnedest to sort it out for you. Or, if you've taken the time to work through this tutorial, and it all made sense, I'd love to hear from you too...

*** Happy Hooking *** 

Spring Seed Swap?

I had big plans of sharing a late Winter garden update with you all this post, full of beautiful pictures of Wintry produce such as peas (...